One of my favorite things about Halloween is making cute decorations! Not only does it let me dress up my house but it lets me spend time with my kids. Then year after year, when I pull out our handmade decorations, it reminds me of the time we spent together!
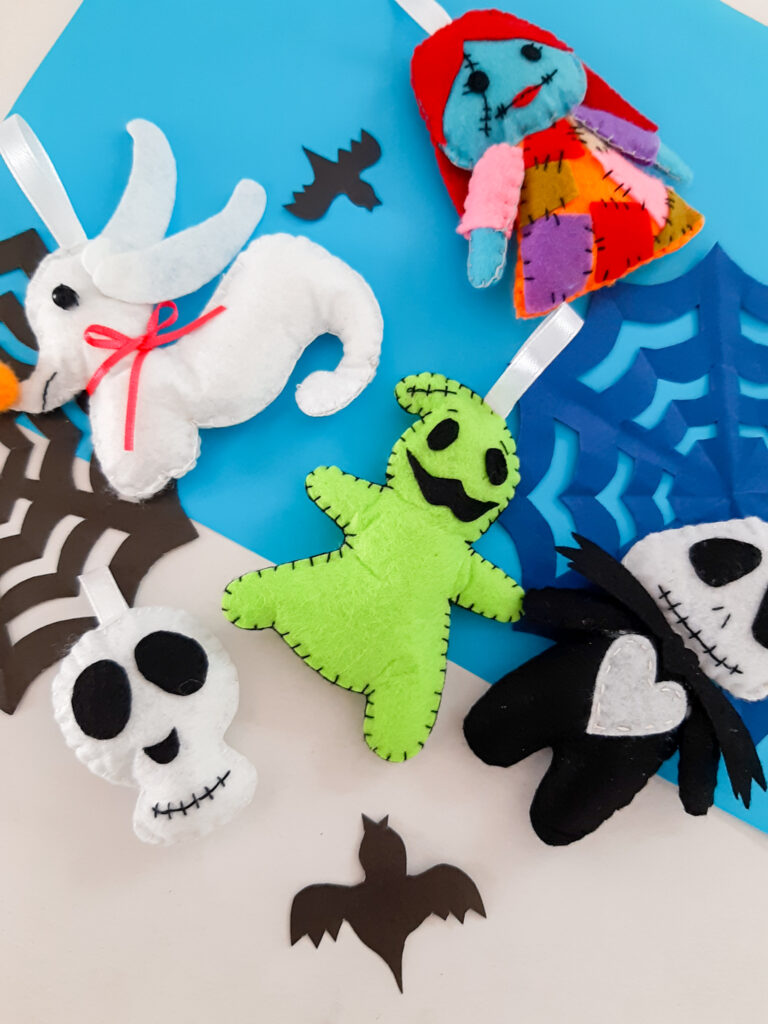
This adorable little felt Oogie Boogie is no exception- and is perfect for families who love The Nightmare Before Christmas or even just Disneyland {whether or not you made it to Oogie Boogie Bash this year}.
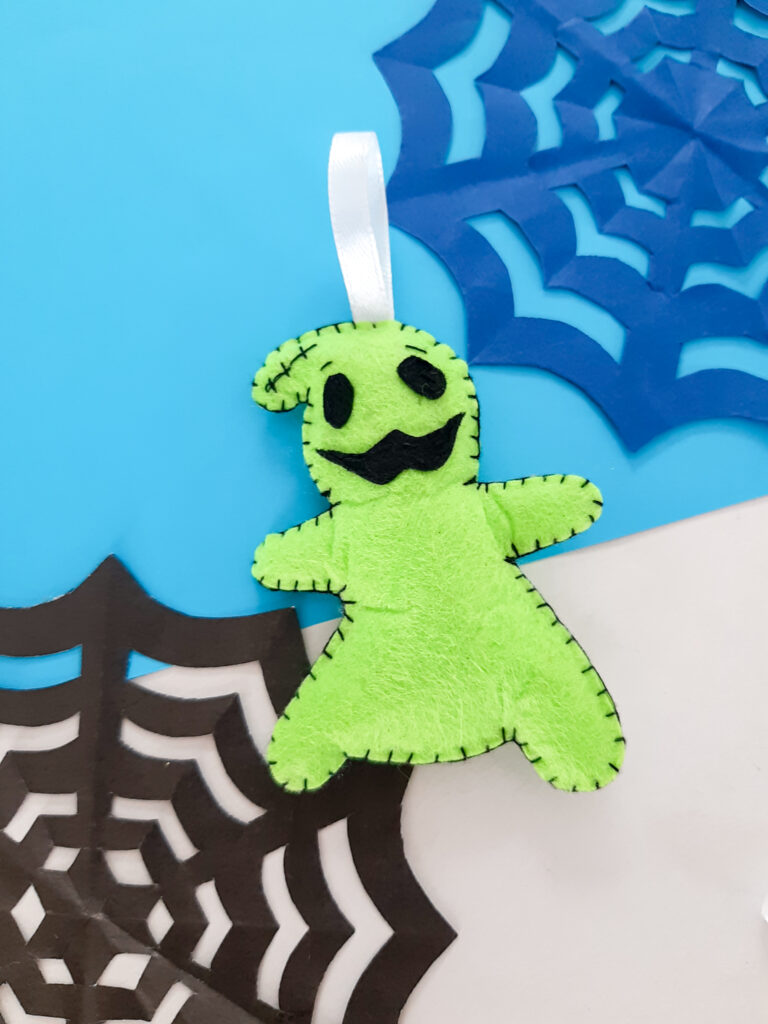
This craft isn’t overly hard but if you make it as described, it does require a little bit of sewing. That said, there IS a no-sew alternative, so don’t let that scare you!
Do I have to sew this Oogie Boogie felt decoration?
Nope! You can use a hot glue gun to adhere the pieces together. You’ll probably want to add “stitches” for the look, but you can always use a permanent marker instead of actual stitches!
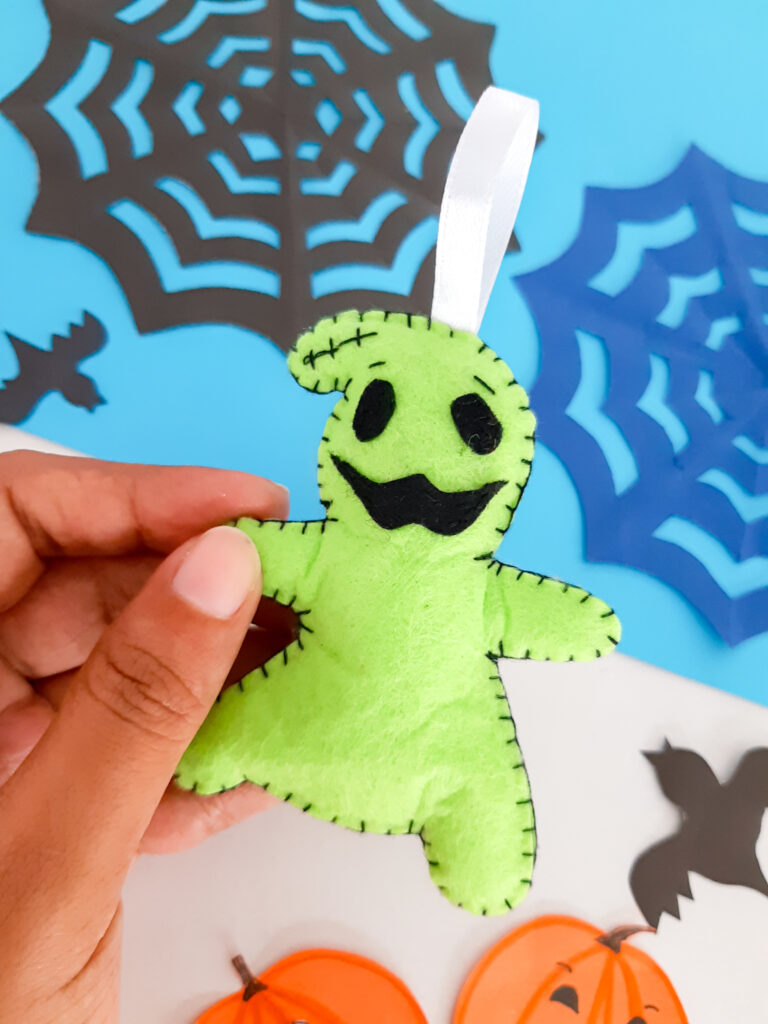
What should you use this Oogie Boogie Halloween decoration for?
You can use this decoration however you want, but I think it would look super cute on a Halloween tree if you have one! Or you could always use it as a Christmas ornament, too!
Some other options would be to add it to a wreath, hang it on your doorknob {just make the hanging ribbon longer for that} or to give it to the kiddos to use as a toy.
Is this a kid-friendly craft?
It can be! Depending on the age of your kids, they can either help you sew or they can use the hot glue gun instead- or if they’re too young for either of those things, you can do that part while they help with cutting out the pattern and stuffing it with poly-fil!

What Supplies Do You Need to Make an Oogie Boogie Felt Plushie?
To make this little guy, you’ll need:
{These links are affiliate links, which means I may make a small commission on your purchase at no extra cost to you. Thanks for your support!}
- Green craft felt
- Black craft felt
- White ribbon
- Black embroidery floss
- Poly-fil stuffing
- Embroidery needle
- Scissors
- Free downloadable PDF available here
Step by Step Guide
Ready to make it? Grab the printable instructions at the bottom of this post and come back here to get started!


Want more?
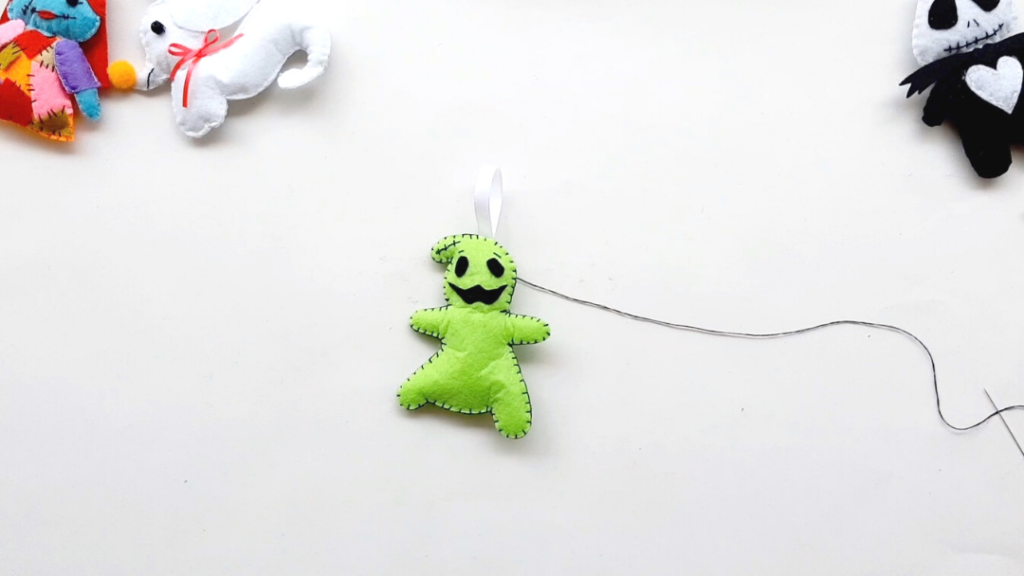
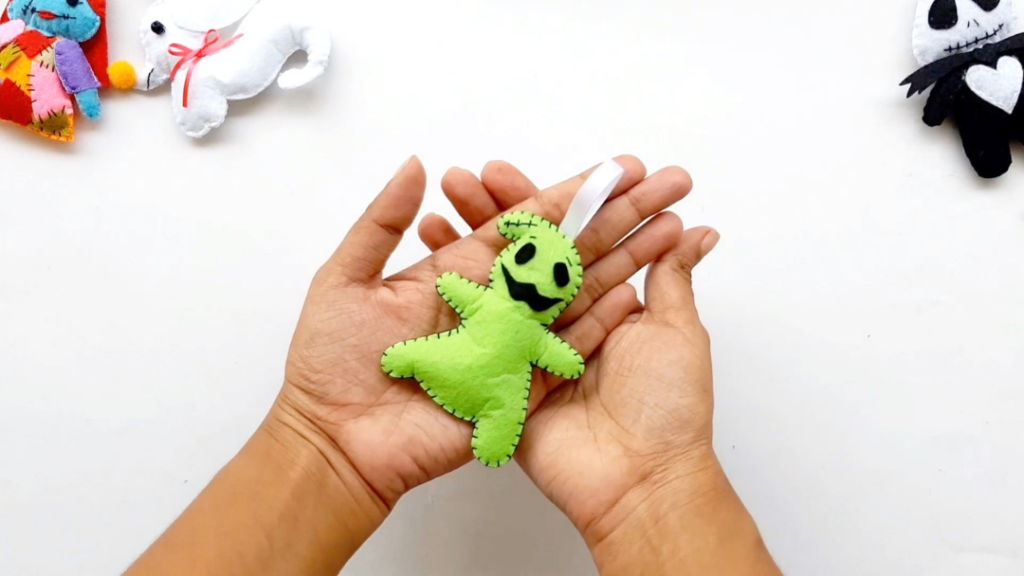
Want more spooky Halloween craft ideas? Try these:
- Jack Skellington Ornament
- DIY Farmhouse Style Pumpkins
- Polyjuice Potion Bath Salts
- Glow in the Dark Spider Nests
- Printable Witches’ Brew Labels
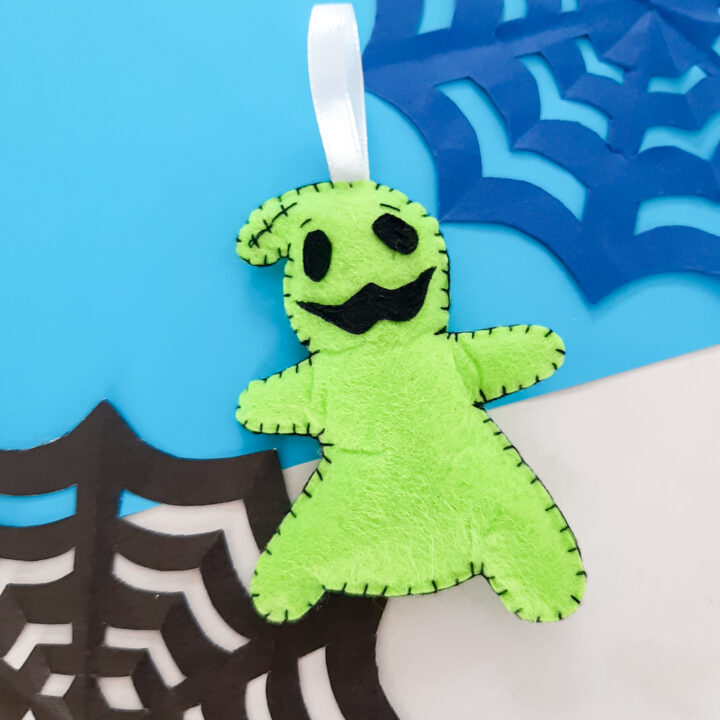
Oogie Boogie Felt Ornament
Having a Halloween costume party or just want to add fun Nightmare Before Christmas decorations to your home? Make this adorable Oogie Boogie felt ornament! You can use it for all kinds of fun Halloween decorations or even hang it on your Christmas tree. This post includes a free pattern to download so no drawing required!
Materials
- Craft felt, green and black
- Ribbon, white for hanging
- Embroidery floss, black
- Poly-fil Stuffing
- Embroidery needle
- Scissors
Instructions
PREPARATION
1. Print Oogie Boogie pattern pieces on heavy card stock paper.
2. Cut out each piece. Use them as templates to trace and cut out the appropriate color felt pieces as noted.
SEW THE FACE
1. Sew the eyes, mouth, eyebrows and scar to one body piece head using black thread.
MAKE THE BODY
1. Begin sewing the two body pieces together using a blanket stitch. I recommend starting at the neck and going around the top of the head. Pause at the middle top of head.
2. Fold your hanging ribbon in half and insert the raw edges into the top of the head and then continue sewing around.
3. Remember to pause and stuff often.
4. When you get back to where you started, finish off.
Notes
STITCHES USED
Back Stitch (for face)
Blanket Stitch (used around the outside edge for joining two body pieces together)
For young crafters, you can also make this a no sew project simply by using glue for everything in place of stitches! Use a permanent marker or fabric paint for the eyebrows and scar.


Leave a Reply