This post is brought to you by Cricut. All opinions are my own.
One of my goals this year was to take more time for crafting. I love making things and have so much fun doing things like painting mason jars and making fun things with my kids.
To make really cool things, you need two things: patience, and some pretty cool tools. I’m working on the patience thing, but I need it less now that I have a super cool tool that helps me make some crafts I’ve been imagining come to life- and a lot more easily than I could do without it. I’m talking of course about the Cricut Explore Air™ 2 machine!
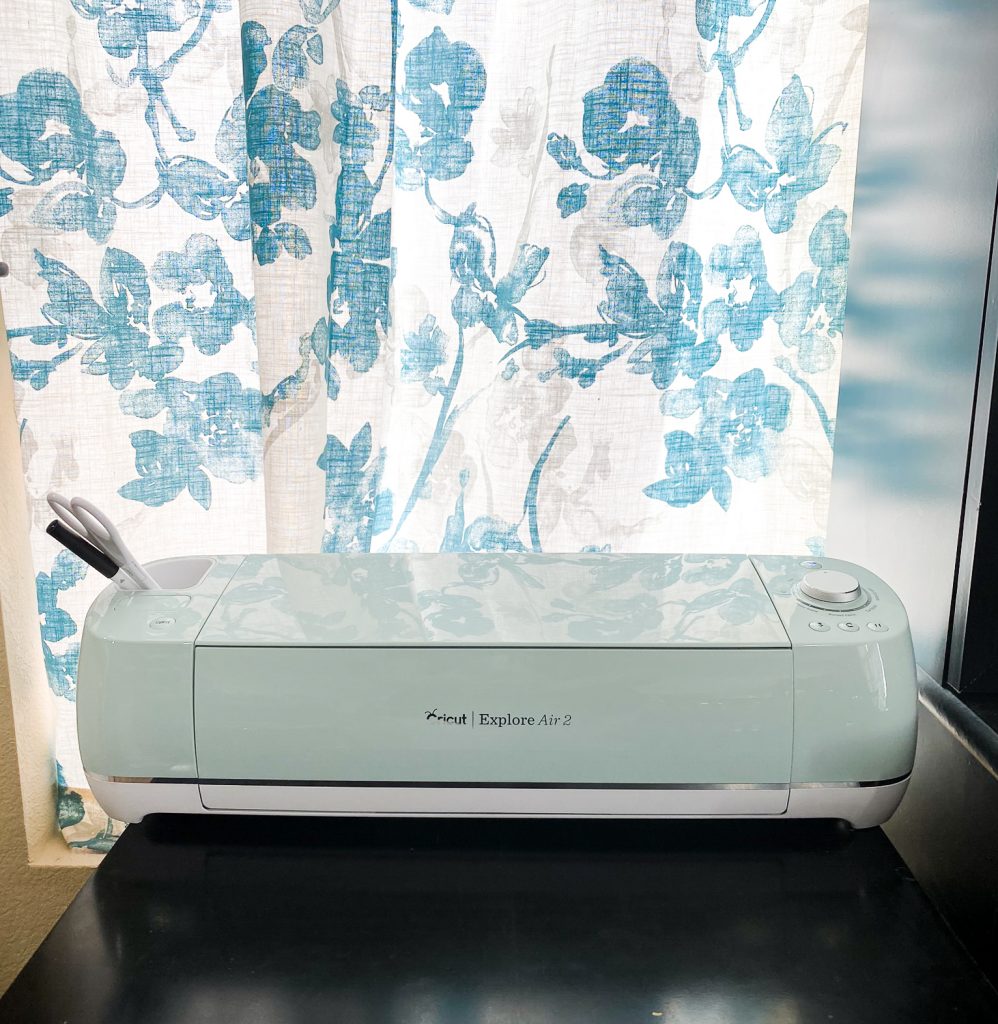
I recently received the Cricut Explore Air 2 Machine and immediately got to work making fun things! I’ve already started labeling my storage containers, I plan on making some fun t-shirts for our next family trips, and I have a long list of crafts that I want to make with the kids.
How do you design crafts with the Cricut Explore Air 2?
The Cricut Explore Air 2 makes it SO easy to bring your ideas to life using their Design Space software that is super user-friendly. You can download the software to your computer or download the app to your phone for free and use most of the basic features of it without paying anything.
The Cricut Explore Air 2 can also use fonts and images from your computer {for free}- and it even takes cartridges, so if you had a previous Cricut model you can still use them!
What is Cricut Access?
There are costs if you decide to use a premium font or image in Design Space, but there are free options as well. And as for the cost of the fonts and images, you can save a lot with a Cricut Access subscription which gives you access to over 100,000 images and hundreds of fonts for the low price of $7.99-$9.99 a month, depending on which plan you choose.
There are even lots of ready to make paid and See all the Free Projects in Cricut Design Space available on Design Space for free- including the one I’ve made below!
How does your Cricut Explore Air 2 connect?
You can use your Cricut Explore Air 2 in two ways- connected to your computer via a cable, or wirelessly {hence the “Air”} over Bluetooth. This is ideal for those who either don’t have the space for it near their computer or primarily work with mobile devices. This machine offers a lot of flexibility, so if you have a craft room or a small living space and need to keep your machine separate from your main computer set up, that’s totally fine.
What kinds of crafts can you make with the Cricut Explore Air 2?
There are so many different types of crafts you can make with the Cricut Explore Air 2! The machine can cut over 100 different materials, including cardstocks, vinyls, woods, iron-on, and more.
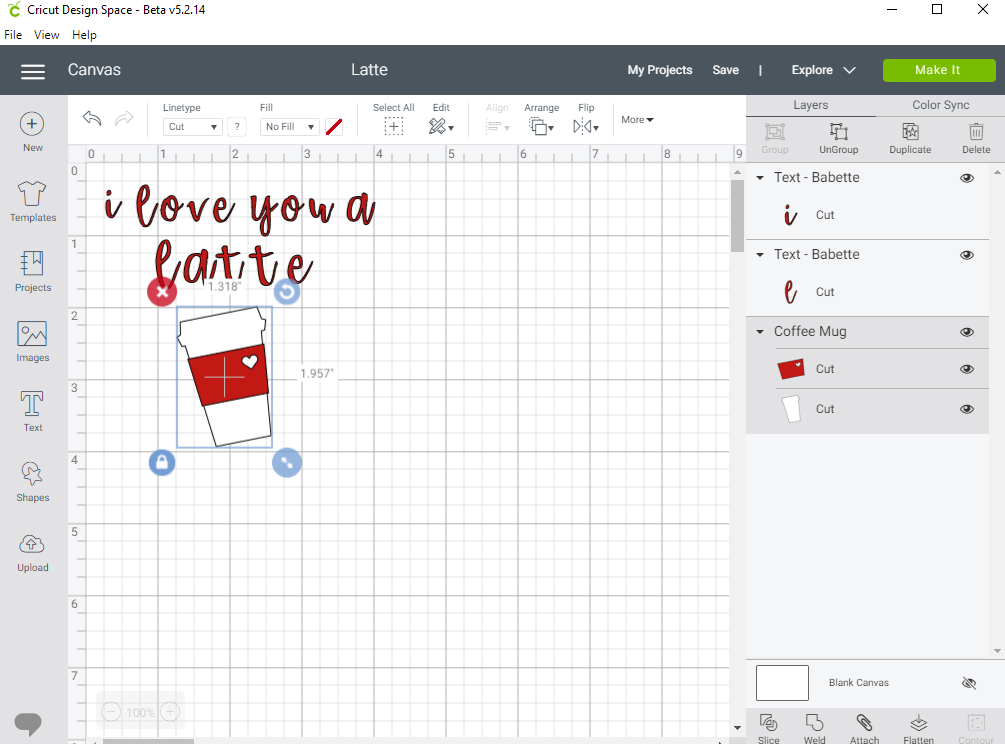
Now, on to the Valentine’s Day I Love You a Latte tumbler craft!
To make this project, you can just click here to access my ready-made project in Design Space. Here’s what you’ll need for this project:
-1 piece of Black Vinyl
-1 piece of Premium Vinyl Shimmer- Red
-I piece of White Vinyl
-StandardGrip mat
-Weeder
-Scraper
-Transfer Tape
-Blank tumbler {available at craft stores or on Amazon}
-Design from Design Space- click here to access
Instructions:
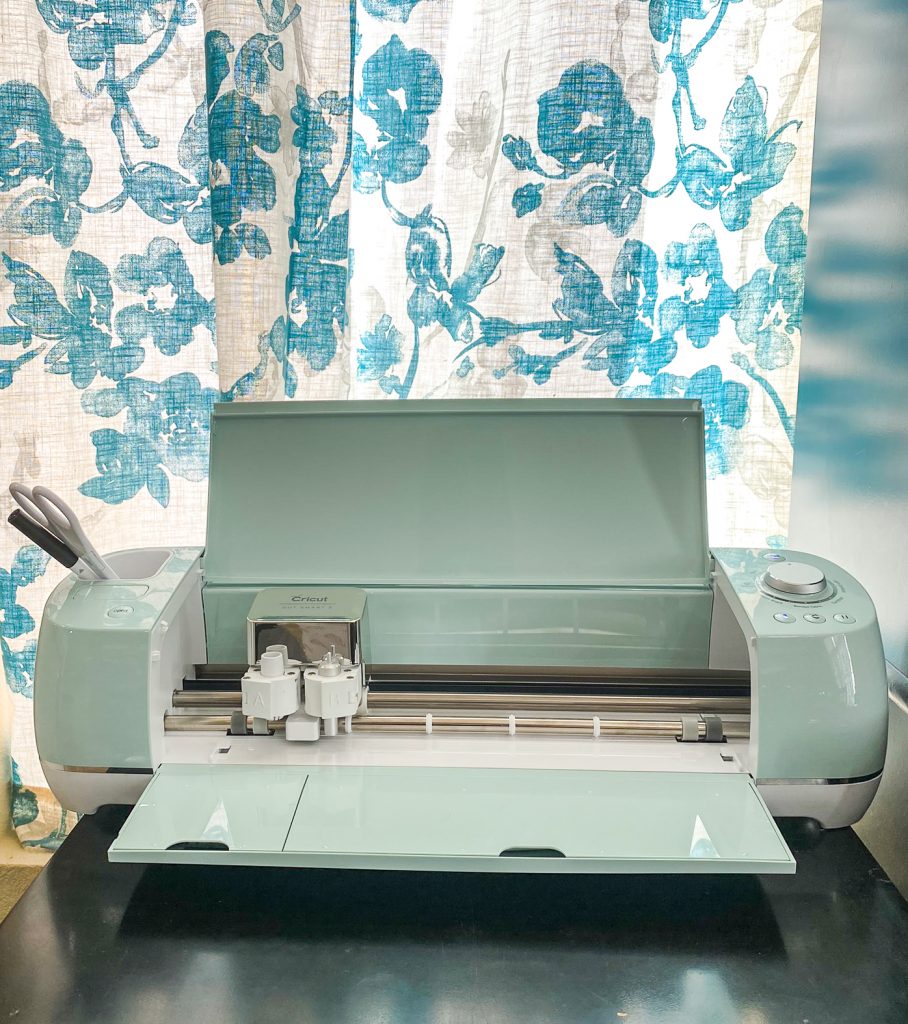
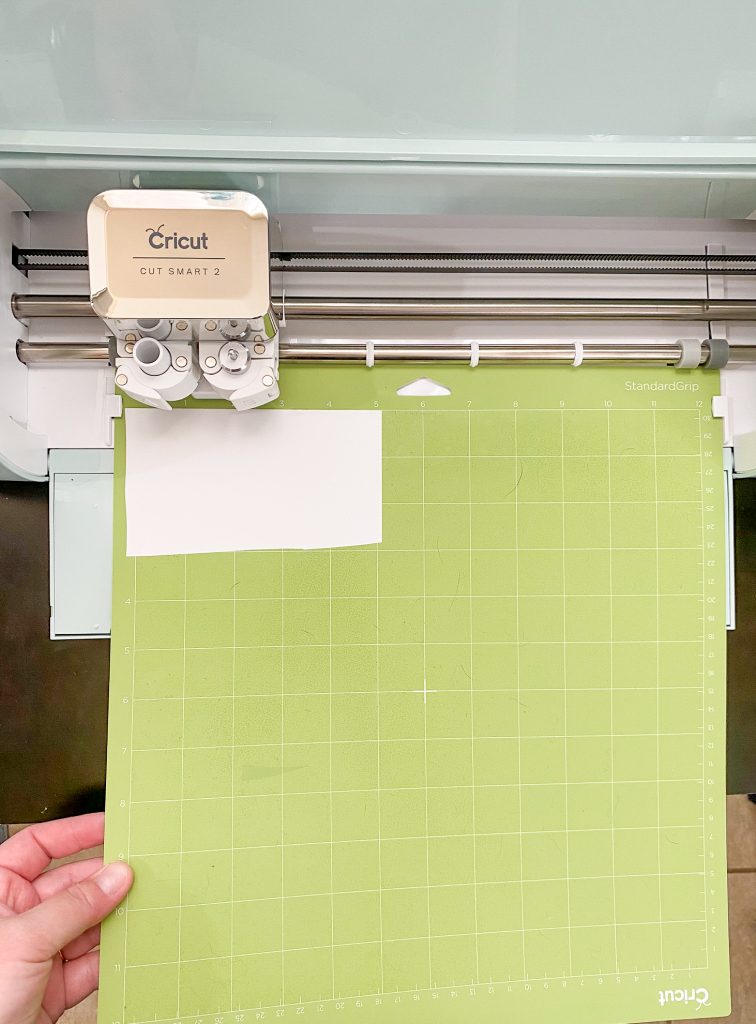
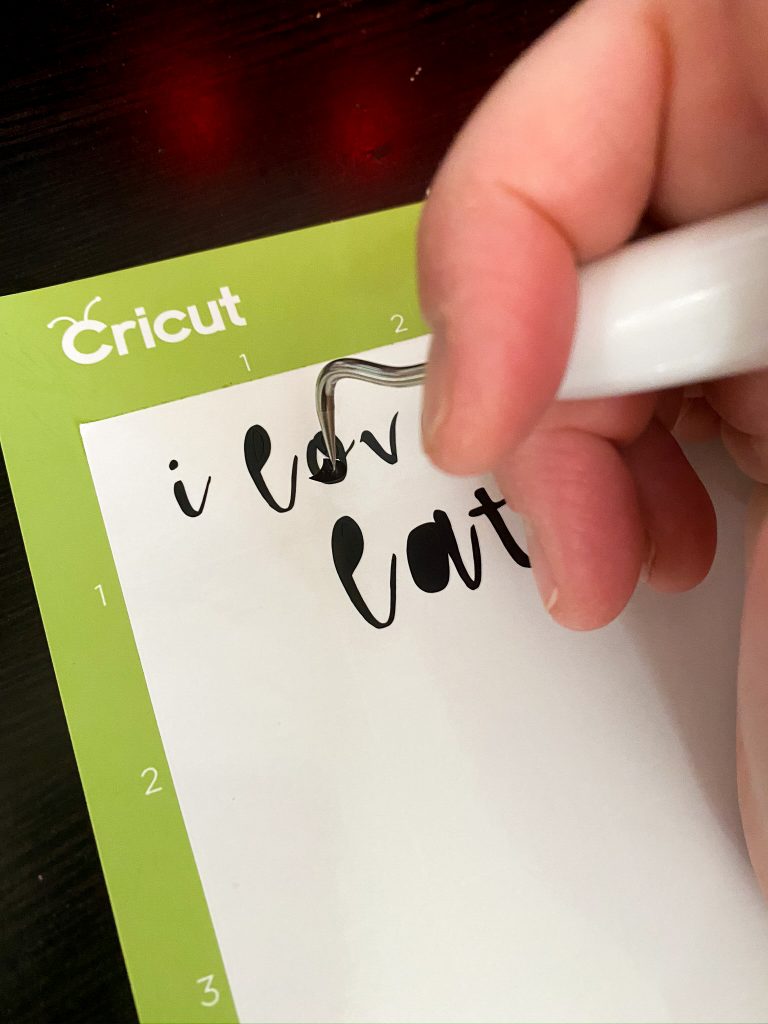
To begin, place your white vinyl onto your StandardGrip mat and load it into the machine.
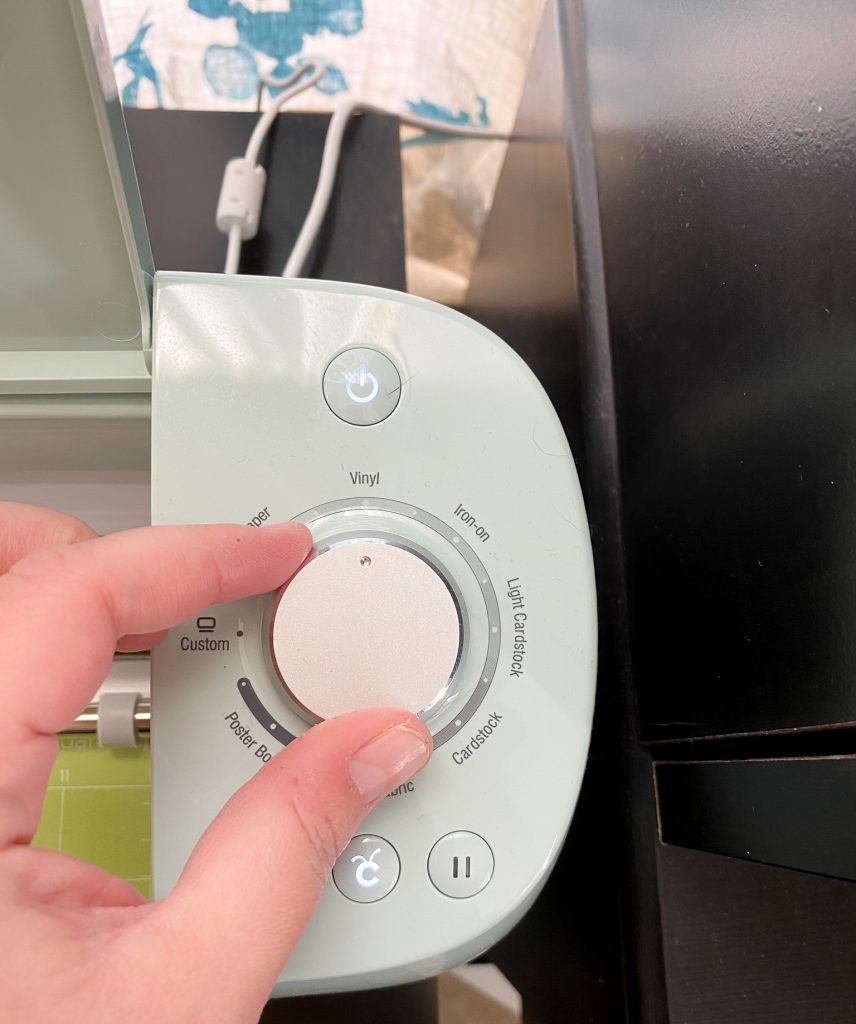
Set your machine’s setting to “Vinyl”. At prompting via Design Space, press the Cricut button to begin the cut.
Repeat the process with the red and black vinyl, following prompting from Design Space.
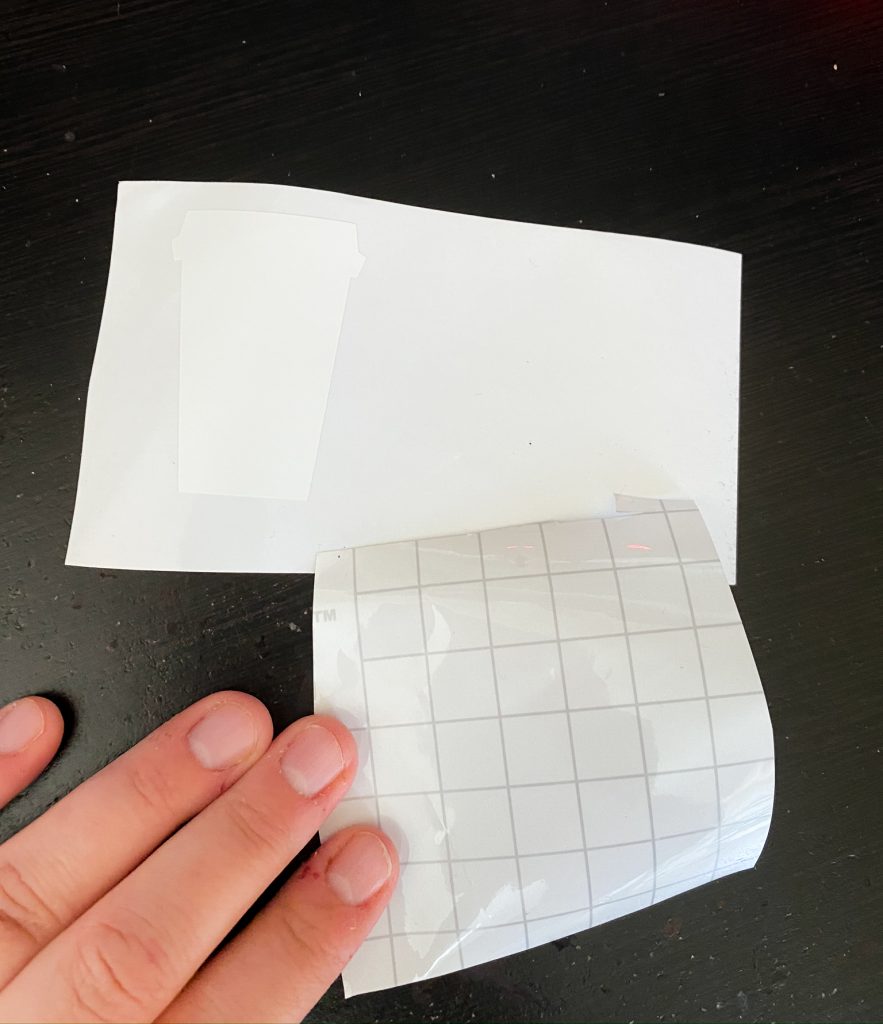
Peel the excess vinyl away, leaving just the image on the vinyl backing. Cut a piece of transfer tape that’s large enough to cover the image. Remove the backing of the transfer tape and cover the vinyl with it.
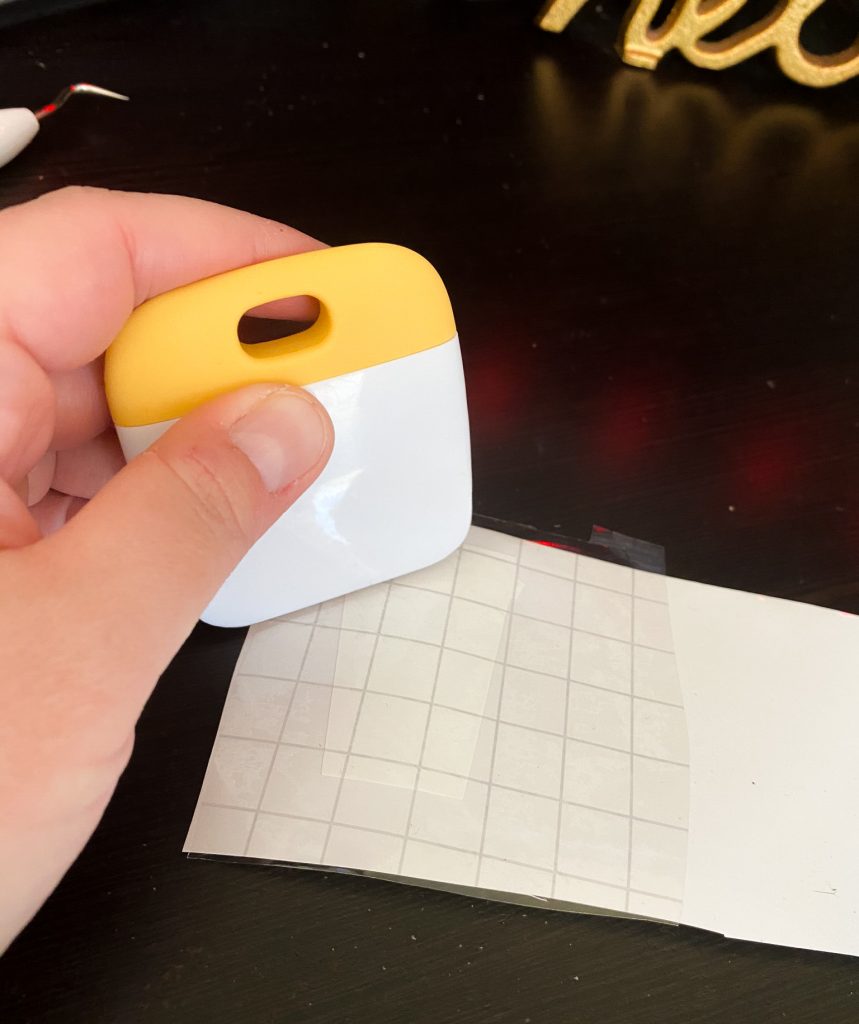
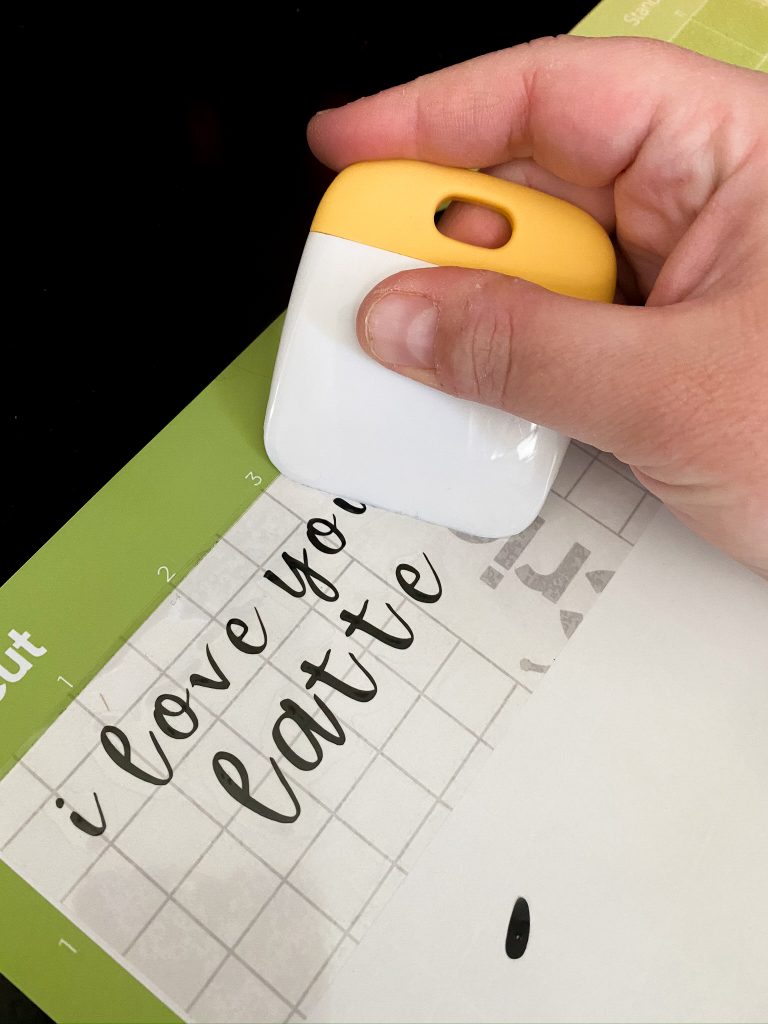
Use your scraper to adhere the transfer tape to the vinyl. Gently peel the transfer tape up, making sure that the design is adhered. {If needed, use the scraper again until it’s all attached.}
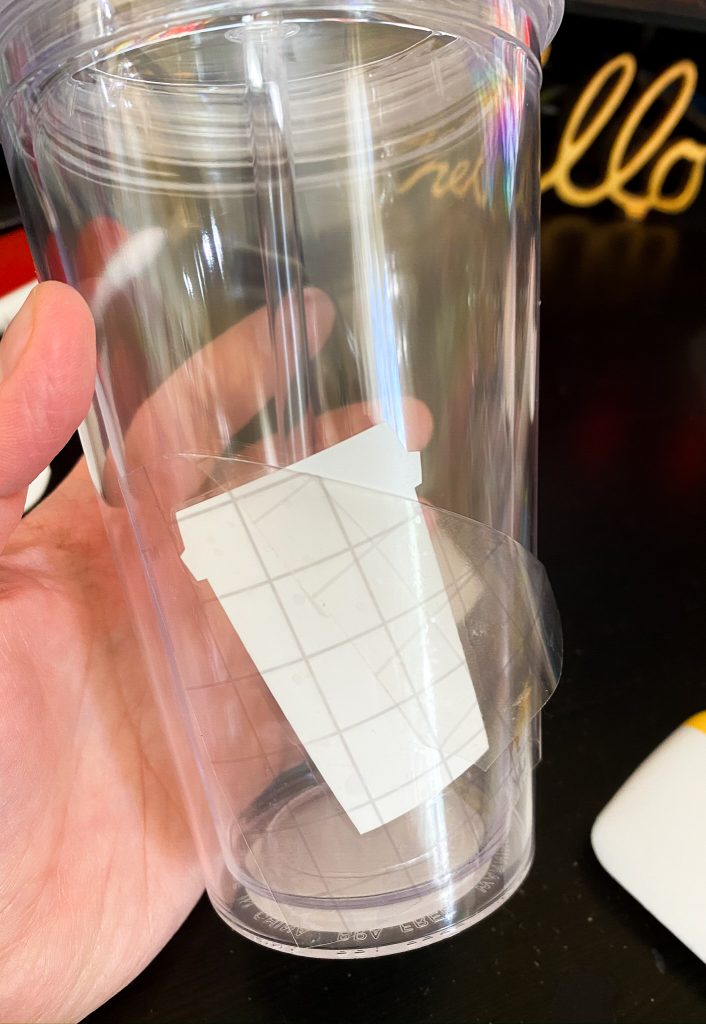
Place the design on the cup where you want it. Use your scraper again to adhere the vinyl to the cup, then gently peel away the transfer tape. Make sure that the design doesn’t come up with the tape.
For the black vinyl, you’ll need to “weed” it. Use your weeder to slowly and carefully remove the bits of the design that you don’t want- the filling in the letters. {For the red sparkle, you’ll need to do this for the heart.}
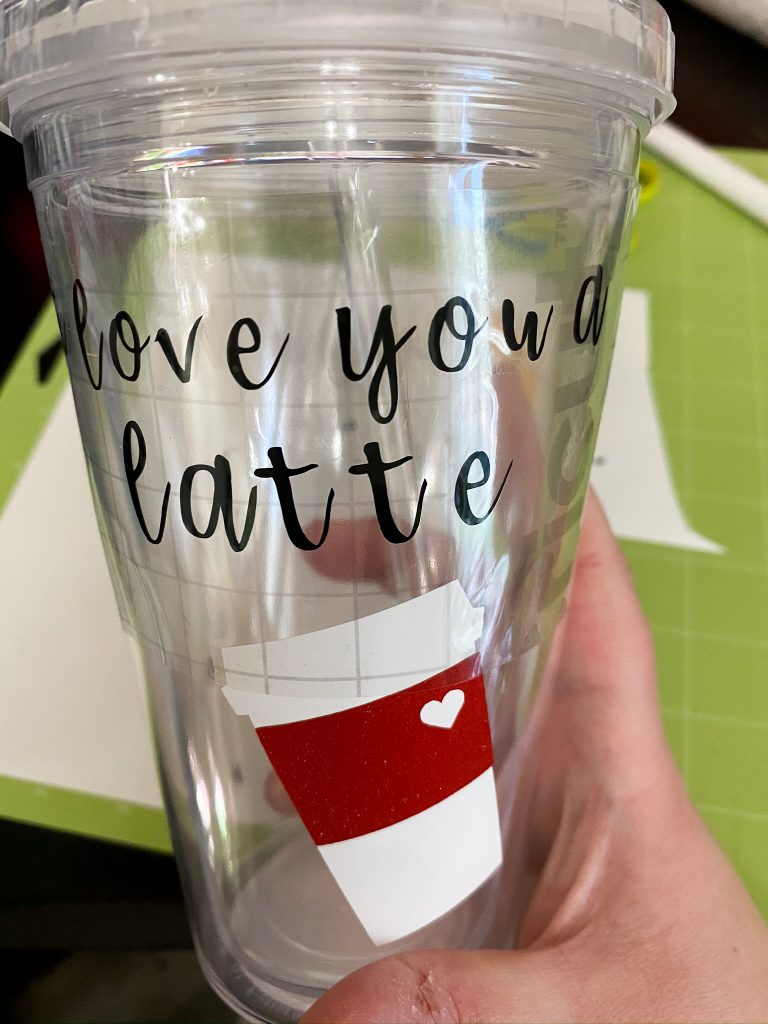
Repeat the process from before- adhere the vinyl to the transfer tape, then use that to place the text {and red label for the coffee cup} on the cup.
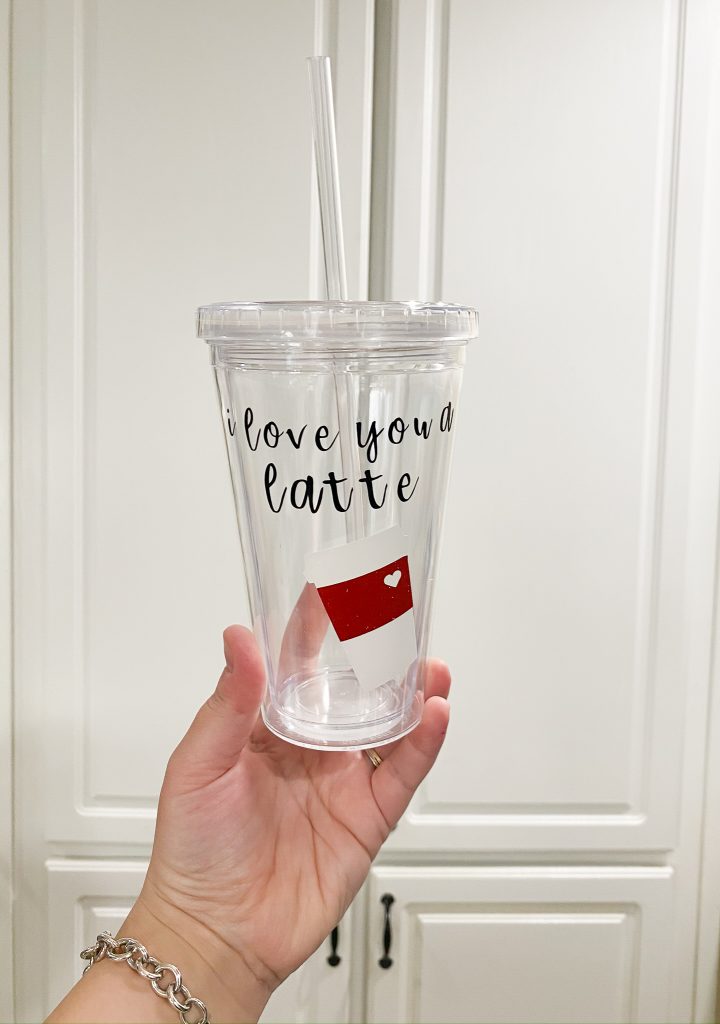
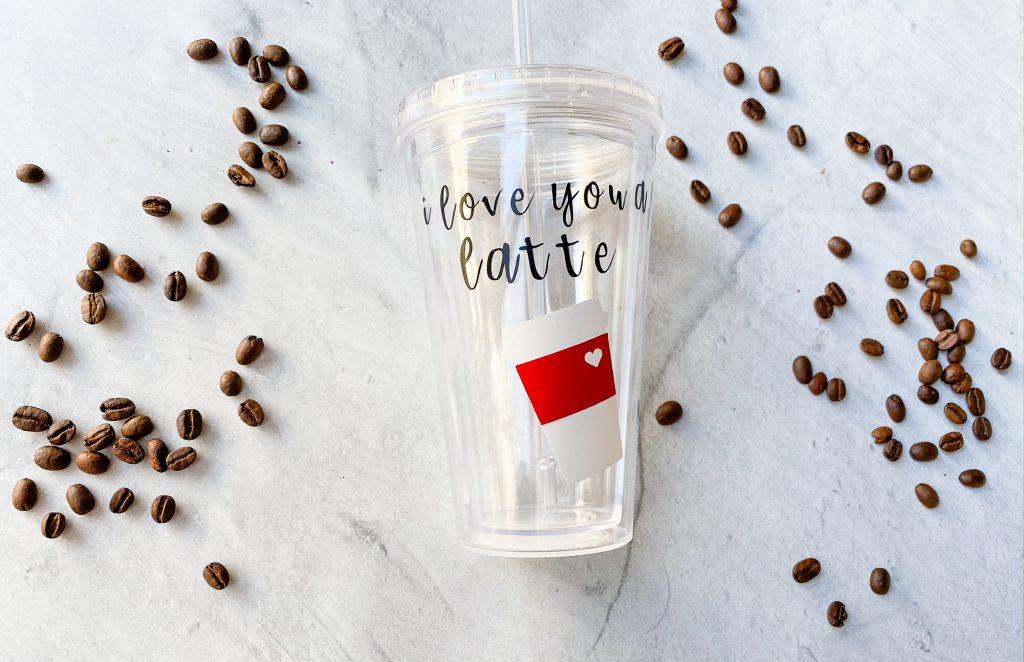
Voila! You have yourself an adorable coffee cup that you can give to a loved one for Valentine’s Day. You can even add a gift card for a coffee shop or a bag of their favorite coffee to make it even more special.

If you’ve been thinking about getting a Cricut Explore Air 2, I definitely say take the leap! It’s been so much fun getting the hang of using it. I’ve been using it to help me get organized in the new year and I can’t wait to make more fun Valentine’s Day crafts!
Have you ever used a Cricut machine?

This is a sponsored conversation written by me on behalf of Cricut. The opinions and text are all mine.
Leave a Reply