This is a sponsored conversation written by me on behalf of Cricut. The opinions and text are all mine.
My family loves to travel, and I like to think that we’re pretty good at it. My kids handle flights and road trips like champs, and even my six year old knows some of our favorite theme parks like the back of his hand. So when something goes wrong on a trip, we’re never expecting it- but luckily, we learn from it!
One of our favorite vacation spots is a hotel with an indoor water park. One of the cool things about this place is that they let you check-in early to start using the water park, even before your room is ready. We usually don’t arrive that early anyway, but last time we tried to take advantage- only, we had packed all of our swim stuff into our normal suitcases. We learned that it’s NOT ideal trying to dig your bathing suit out of the middle of your suitcase {or THREE suitcases, since the kids have their own} in the middle of the hotel lobby.
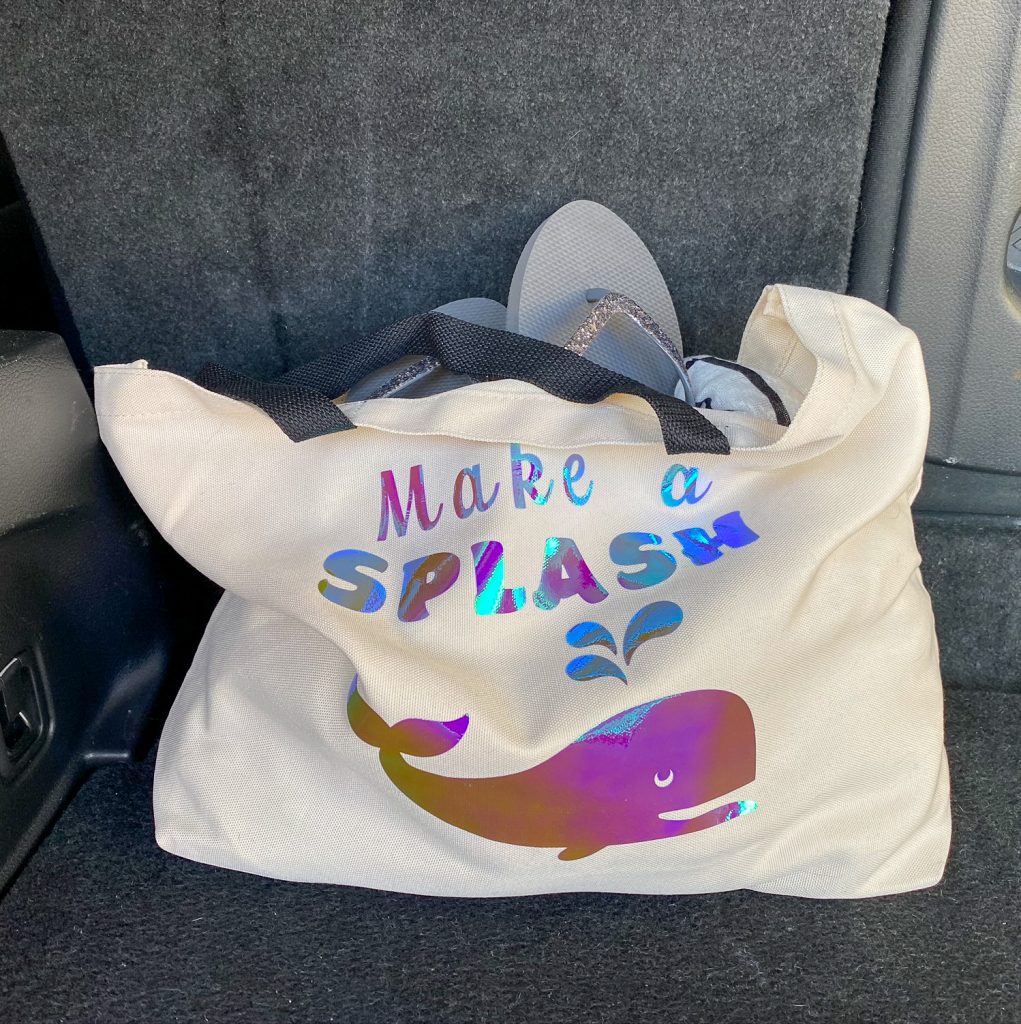
We’re heading to that hotel again this weekend, but now we are prepared! I knew I needed a better solution for storing our swimsuits so that they wouldn’t get buried in our suitcases, so I decided a tote bag would be perfect. Since it’s January there’s a shortage of cute water themed tote bags around here right now, so I took it into my own hands!
If you caught my DIY I Love You a Latte Coffee Tumbler tutorial a couple of weeks ago, you know I recently teamed up with Cricut. You might not know though that they don’t just have the Cricut Explore Air 2- they also have an amazing machine called the Cricut EasyPress 2!
While the Cricut Explore Air 2 is perfect for cutting out any iron-on vinyl design your heart desires, the Cricut EasyPress 2 is the tool that makes the actual iron-on part SO EASY. The Cricut EasyPress gets hotter than a home iron, is larger than a home iron, and has a web tool that lets you easily figure out your settings based on what materials you are using. It’s the absolute best tool for anyone just getting started with iron-on- like me!
I was originally super overwhelmed at the thought of making my own tote bag, but I was pleasantly surprised when I opened the box of my EasyPress 2 and found that there was a sample project included- and it was even a tote bag! It actually works as a storage bag for the EasyPress- it such a convenient sample project and was such a relief getting to practice on that first! Luckily, that sample project showed me JUST how simple iron-on can be!
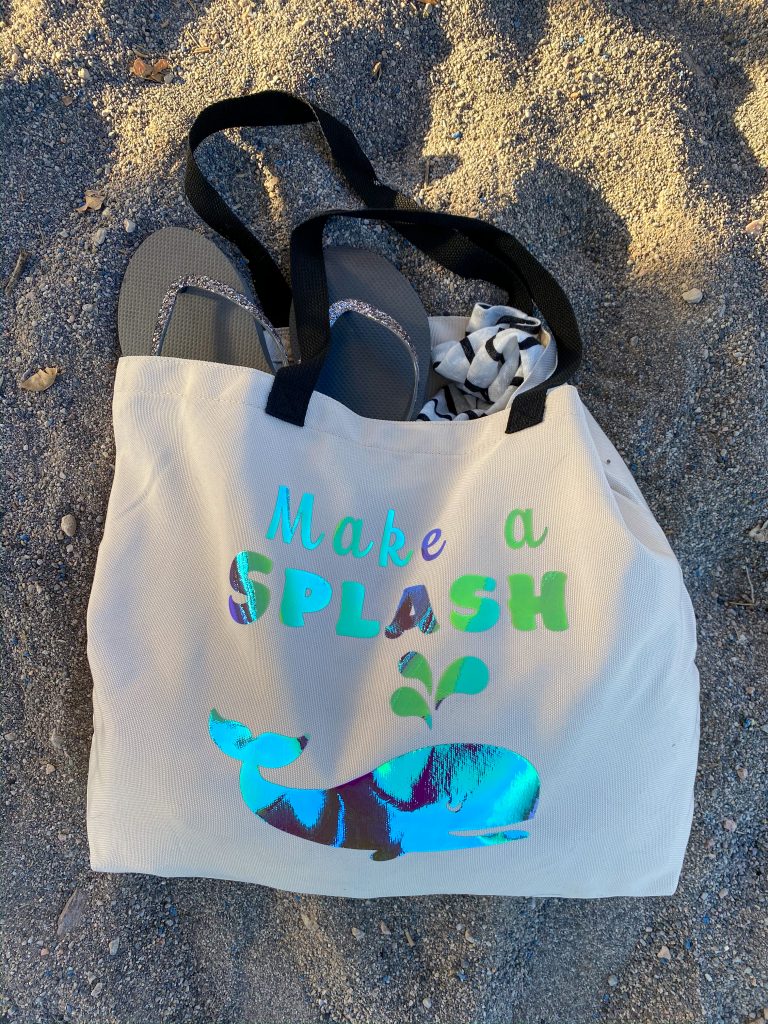
If you’re looking for a beachy tote for Spring Break or a summer vacay, here’s the step by step on how I made mine!
Supplies:
Cricut Iron-On {I used the Holographic Iron-On}
Tote Bag {I used a Cricut Tote Bag}
Cricut Explore Air 2 with Fine Point Blade
Cricut EasyPress 2
StandardGrip Mat
Weeder Tool
EasyPress2 Mat
Directions:
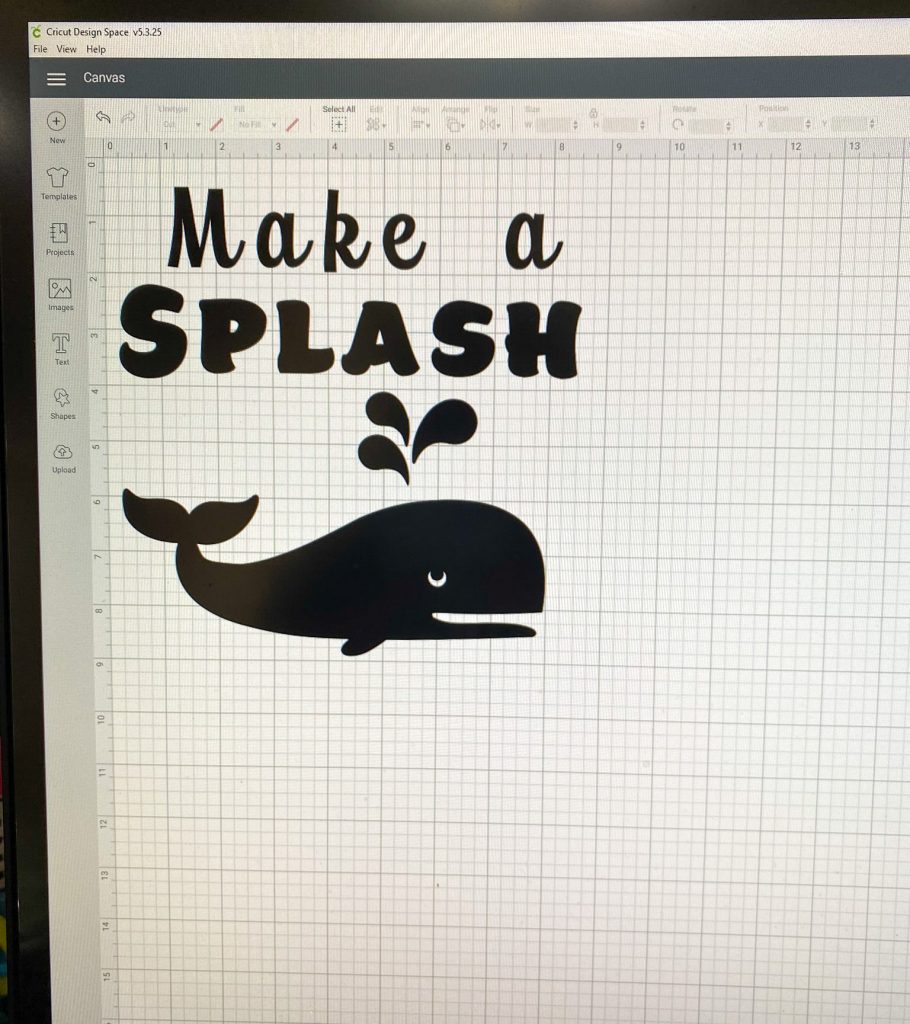
Create your design. Use Cricut’s Design Space to create any design you choose. If you want to use my design, you can grab it right here.
If you want to make your own and explore the Cricut library, consider getting Cricut Access where you get access to thousands of fonts and images for one low monthly price. Learn more about it here!
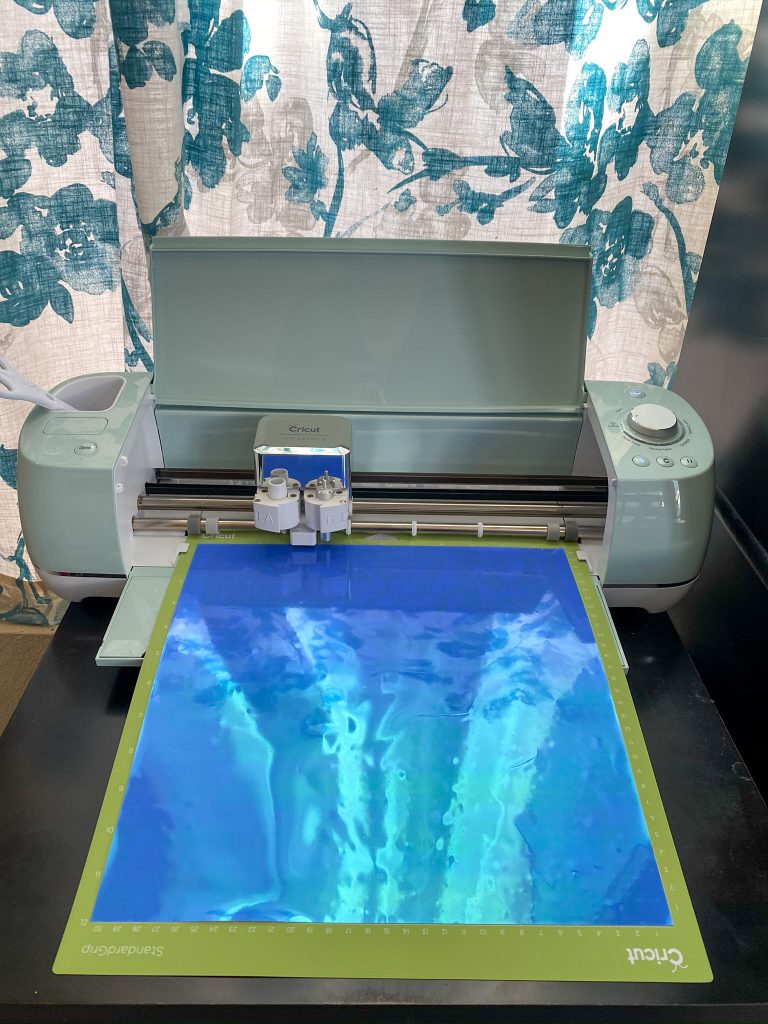
Cut your design. Follow the steps on Design Space to cut your mat- making sure your iron-on material is shiny side DOWN and that you hit that “mirror” button- both VERY important steps!
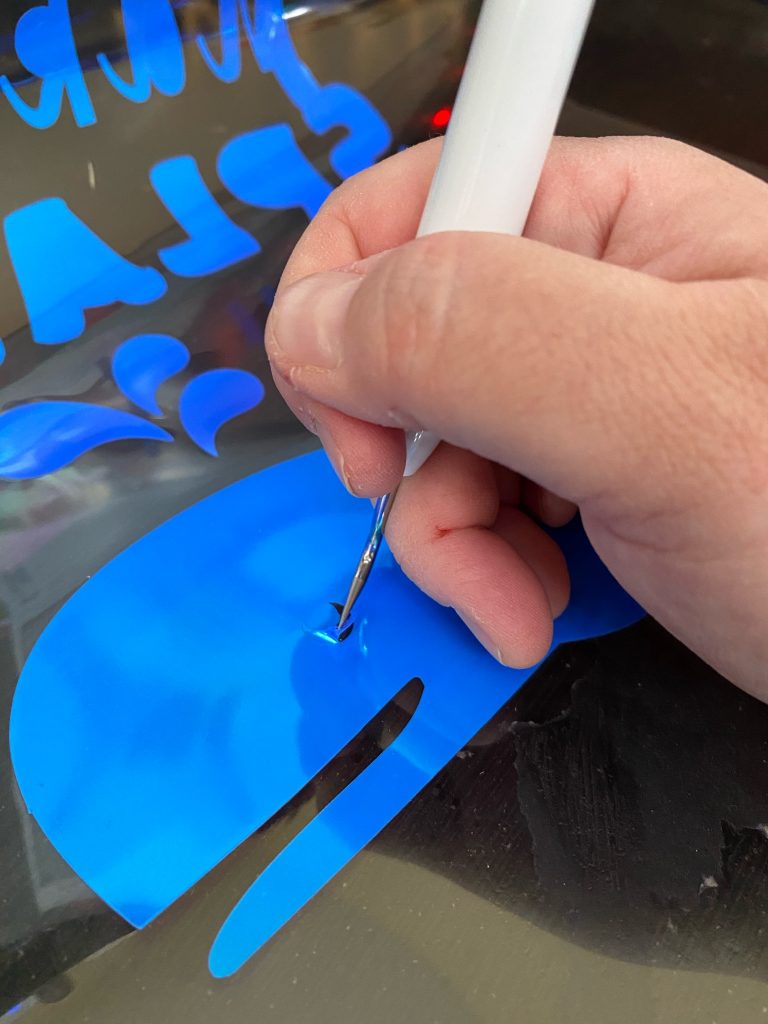
Weed your design. Remove the top layer, peeling carefully around your design. Use your weeder to remove any small details you don’t want to transfer. Make sure you that you fully remove those weeded pieces from your work area so they don’t accidentally end up in a random place on your design!
Prep your surface. Make sure you are using a hard, solid surface. Do not use an ironing board- you’ll want to use a kitchen island or solid table. I used the EasyPress 2 mat and it makes the job way easier, but it’s not required. If you don’t have it, use a folded towel under your material to protect your surface.
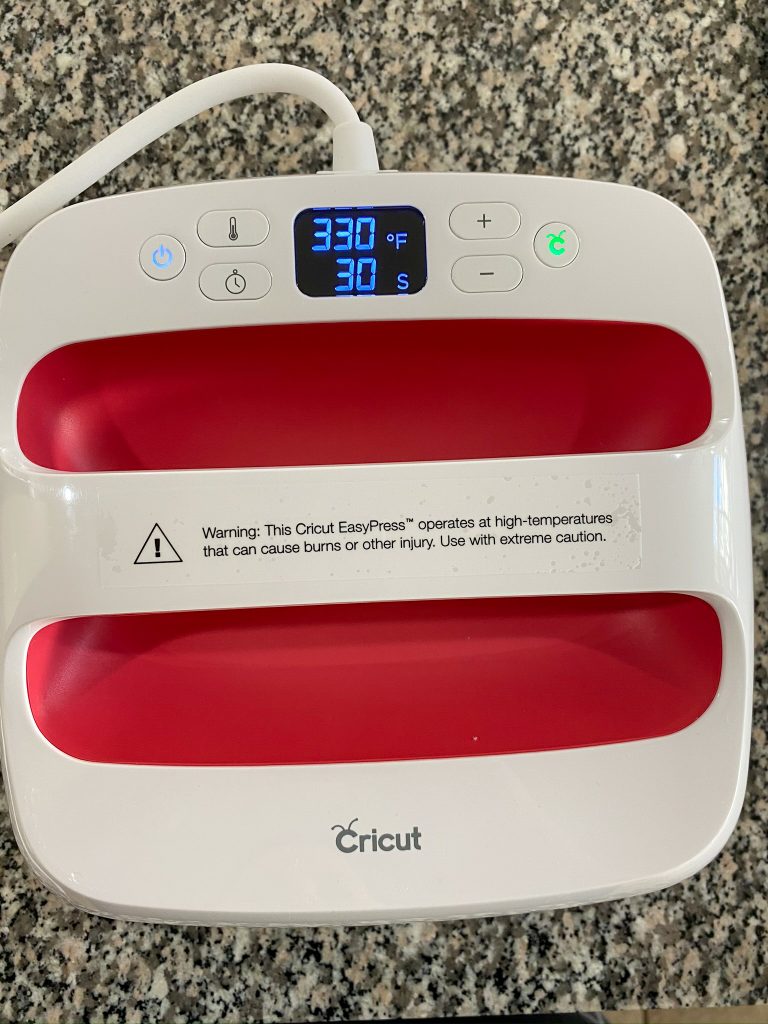
Set up your EasyPress 2. Get it out and plug it in. Go to this page to input your supplies and find out what settings to use. In my case, it was 330 degrees and 30 seconds.
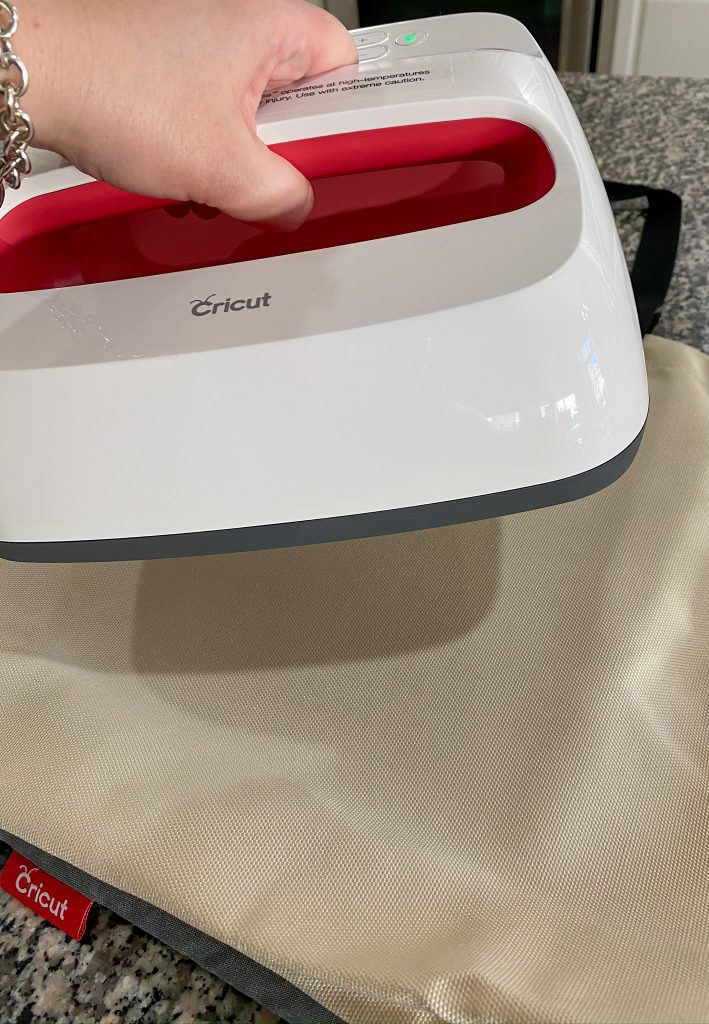
Prepare your material. This is an important step- gently press the EasyPress 2 over the material for about 5 seconds, applying gentle pressure. This not only removes wrinkles but draws out moisture, making it easier for the iron-on material to adhere really well. This even ensures that the iron-on will last longer!
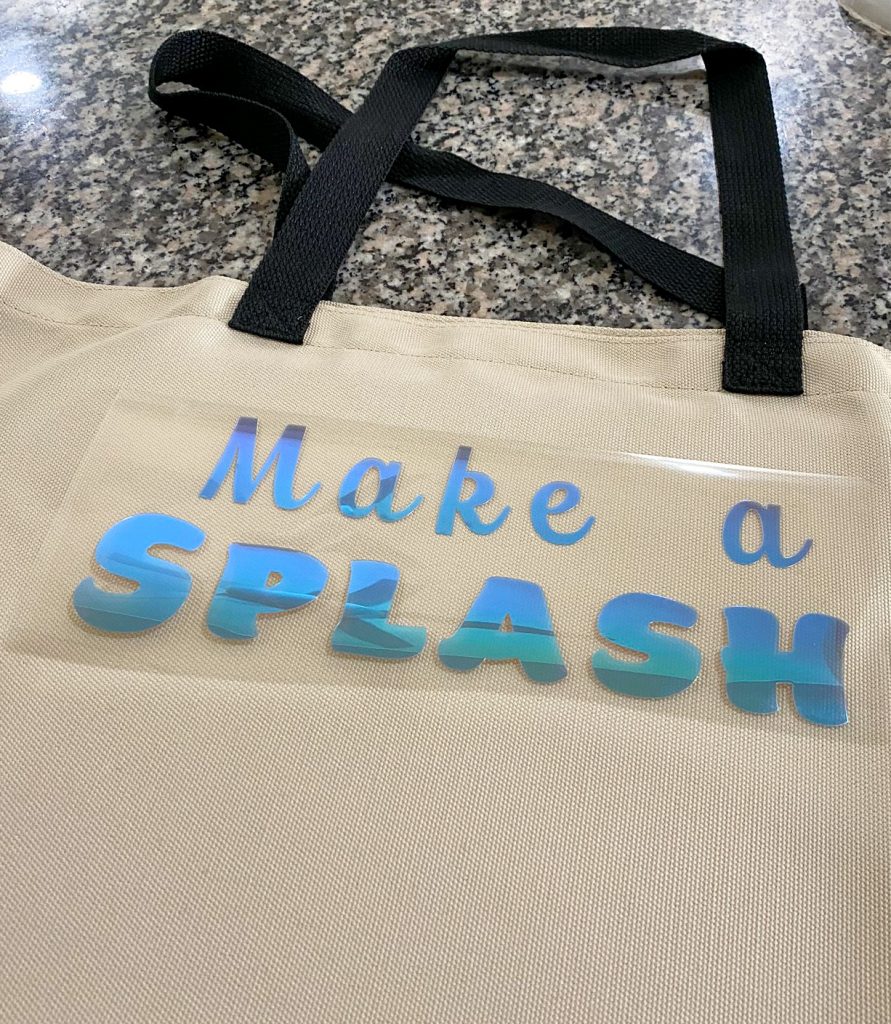
Apply your design. Set your design where you want it and use your EasyPress 2 to adhere! Since you have custom settings, all you have to do is place the EasyPress, press start, and apply gentle pressure until it beeps.
Flip and repeat. Flip your tote bag over and apply your EasyPress to the back for 15 seconds. This step makes sure that the design will stick even after washing.
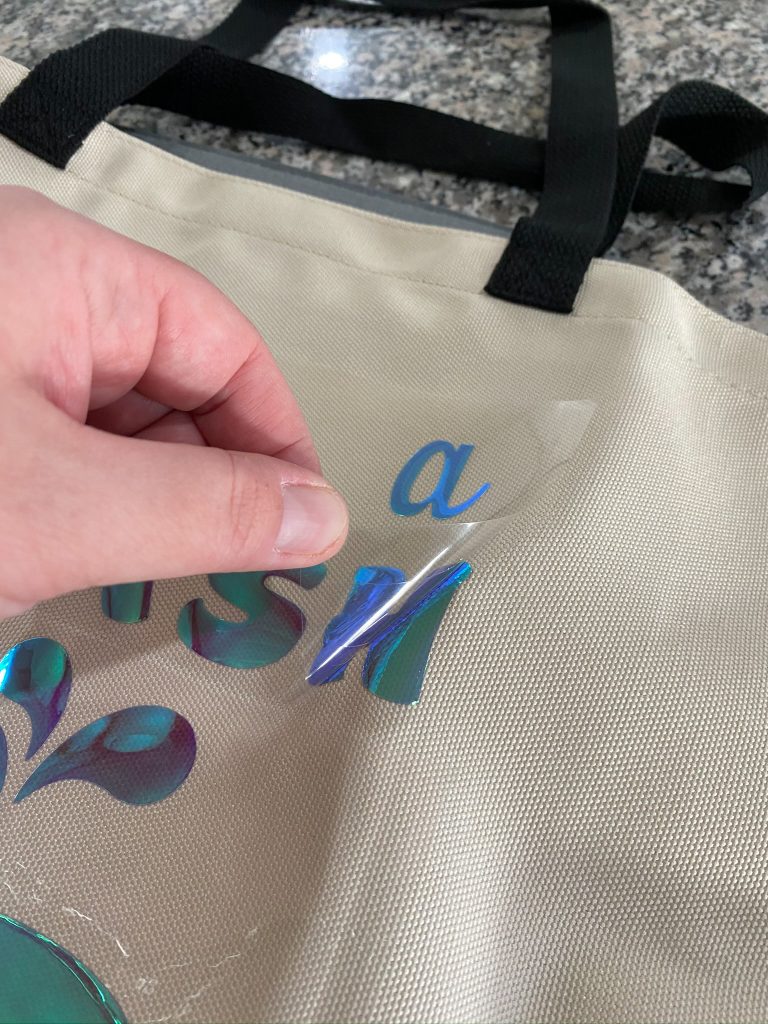
Check and remove. That page you used earlier will tell you if you should remove the liner while the design is warm or wait for it to cool. In my case, it said warm, so I went ahead and lifted a corner gently to make sure that it was fully adhered. It was, so I gently removed the liner and voila!
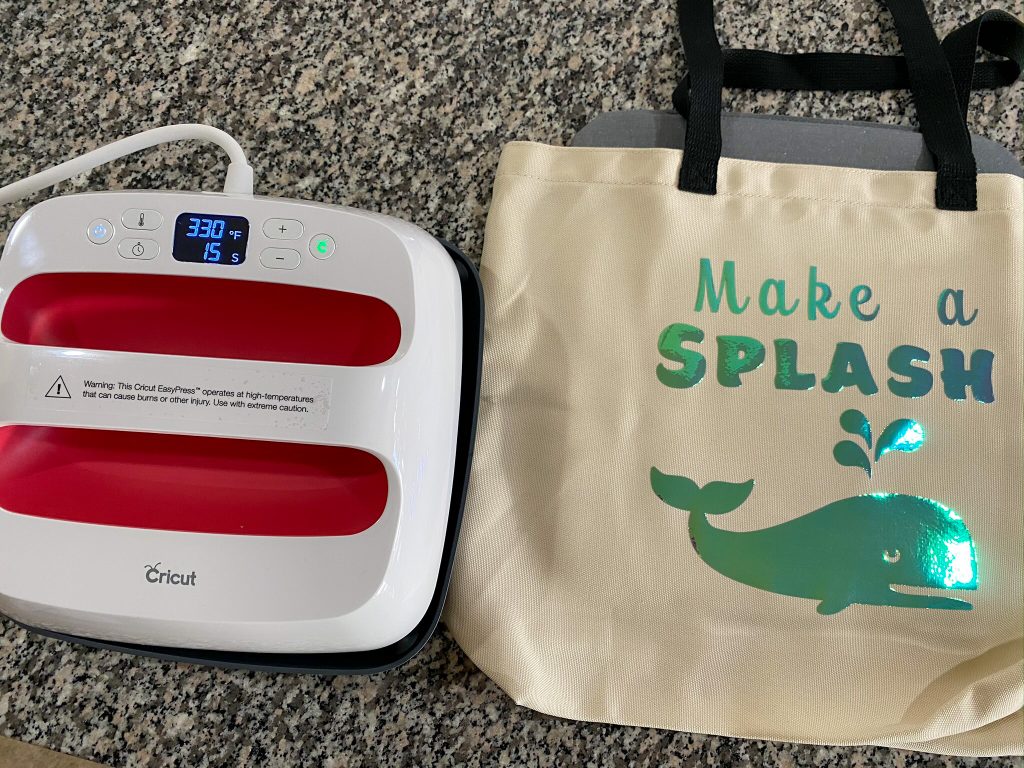
I was so excited to make this cute bag that will hold all of our swim gear so we don’t have to waste any time when we arrive at our hotel! I get the feeling we’ll be using it all summer at the pool, the beach, and anywhere else we find ourselves. And of course, now that I know how easy it is to use the EasyPress 2, I have LOTS of plans for making more designs!
What iron-on design should I make next?


Leave a Reply