If you have a young child, I don’t have to tell you what Shopkins are. Just in case you don’t, they are the latest- and biggest- craze hitting elementary schools all over! They are tiny, collectible figures that resemble things you would shop for {groceries, accessories, home decor..} and sometimes come in sets with grocery baskets or shopping carts.
While many of the Shopkins toys come in sets that let you choose what you get, many of them are sold as mystery grabs. Not knowing what you’re going to get can make it even more fun to collect them- especially for kids- but it also means you might end up with duplicates. So what do you do with those? Well, now you can turn them into jewelry!
With these DIY Shopkins Jewelry creations, you’ll find a project you can do together {depending on the age of your child} that will let them wear their Shopkins love for all to see!
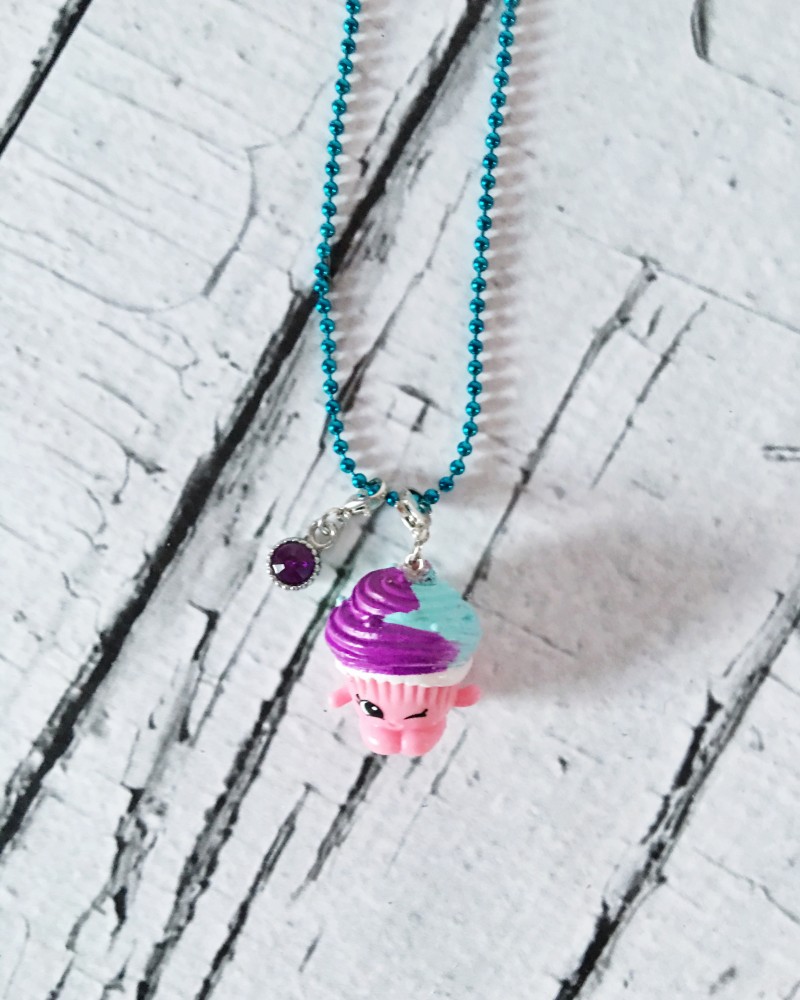
DIY Shopkins Jewelry
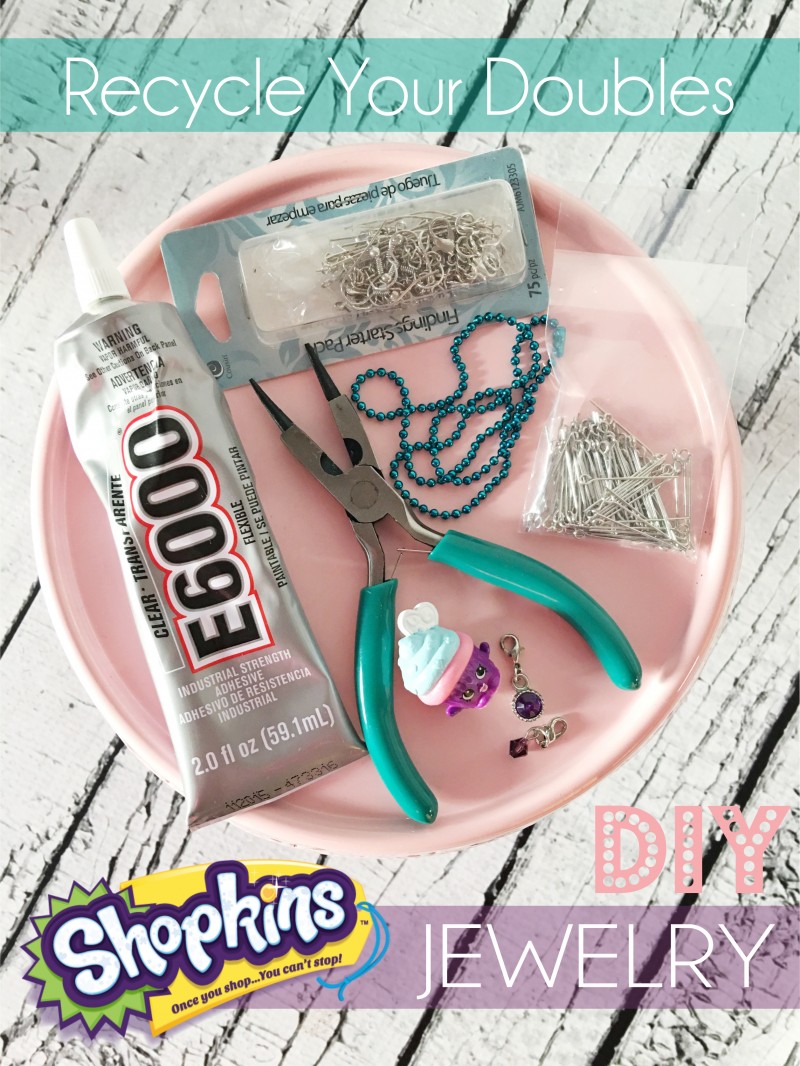
Supplies:
Dremel tool w/small pit {1/16 or smaller}
Jump Rings
Eye Pins
Industrial strength glue – E6000
Round Nose Pliers
Lobster Clasps
Chain
Shopkins!
Directions:
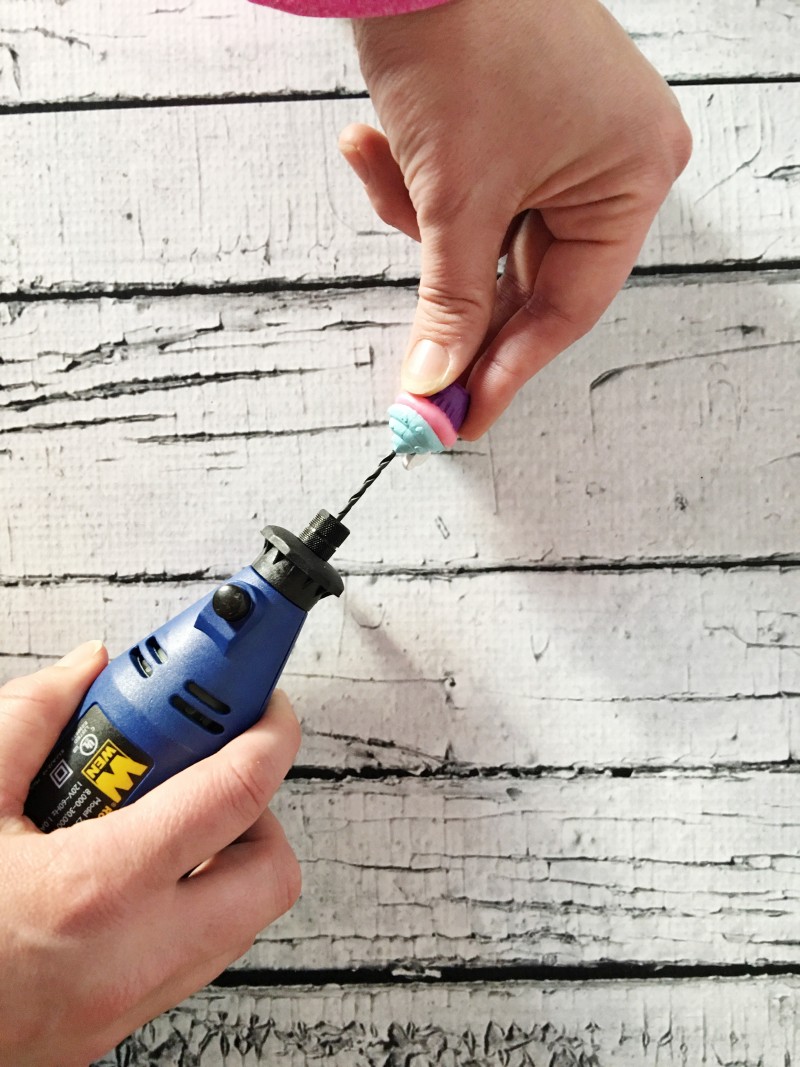
1. Drill a small hole into the top of the Shopkin of your choice with the Dremel tool. I used a 1/16 inch bit, but you could use smaller.
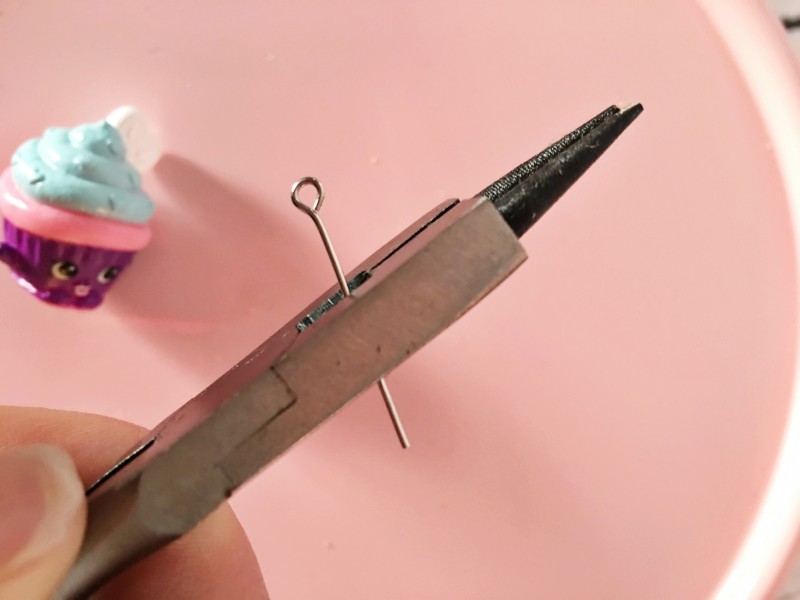
2. Cut down eye pins to about .75 ”
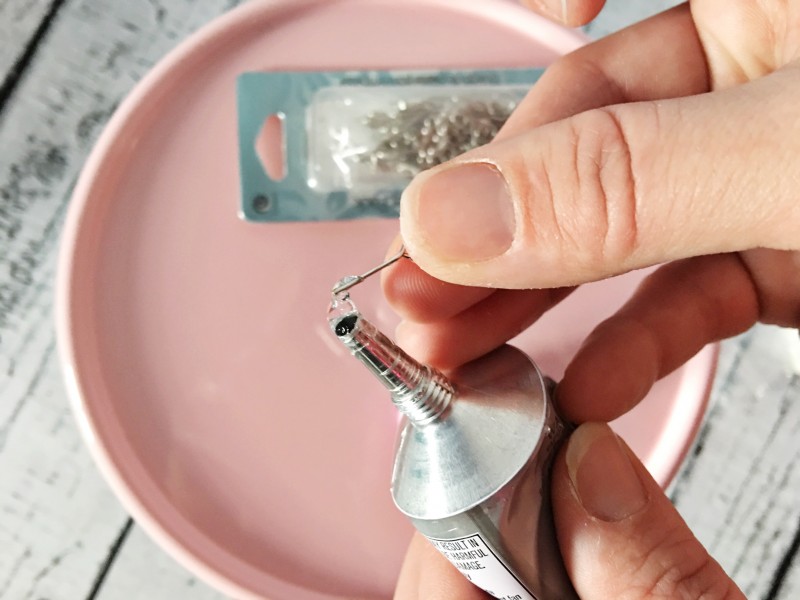
3. Use the eye pin to place E6000 glue inside the hole at the top of your shopkin. Press the eye pin down into the hole. Let dry 24hrs.
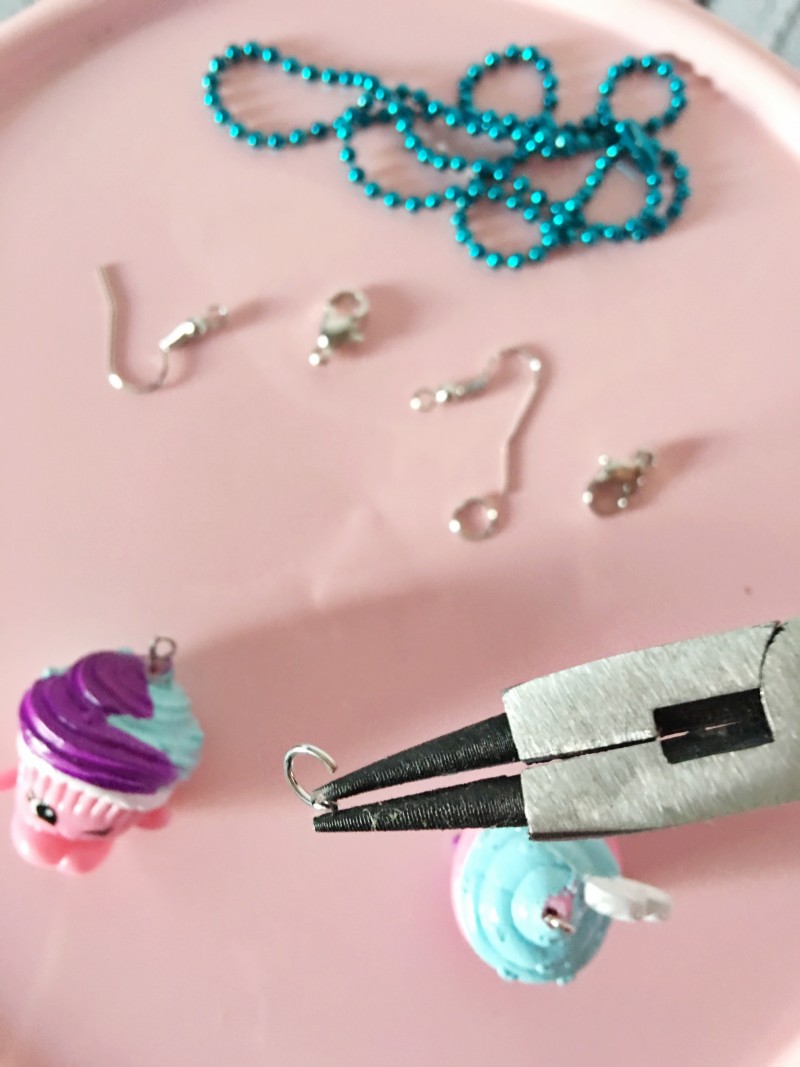
4. Use the round nose pliers to open the jump rings. Place the jump ring in the eye pin at the top of the shopkin. Close the jump ring with the round nose pliers.
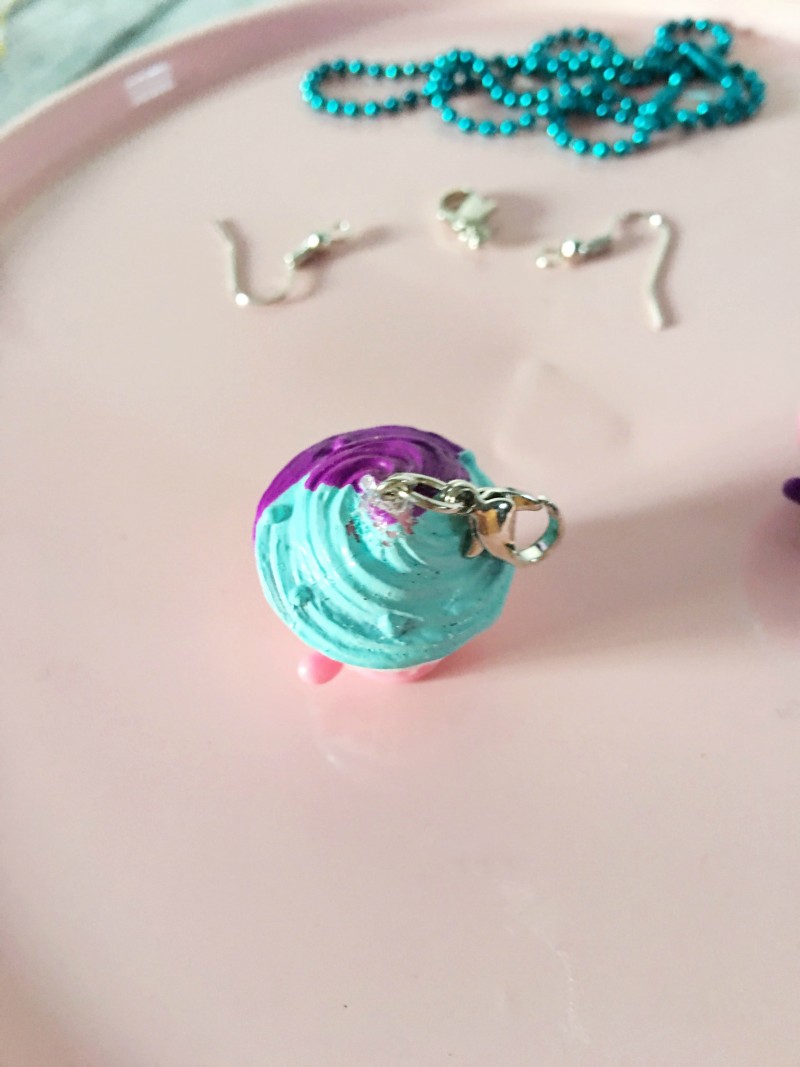
Tip: You can use lobster clasps to make a necklace or charm bracelet or earring hooks to make earrings!