This post is brought to you by Cricut. All opinions are my own.
One of our favorite things to do as a family is go to the park. It’s not something we can do year-round because of the heat, so as soon as the temperature starts trending down, we start pretty much living outside. Sometimes we ride scooters, sometimes we bring a basketball to shoot some hoops, and sometimes we just enjoy all the nature that we can find at our local parks- including buffing up our outdoor education and knowledge!
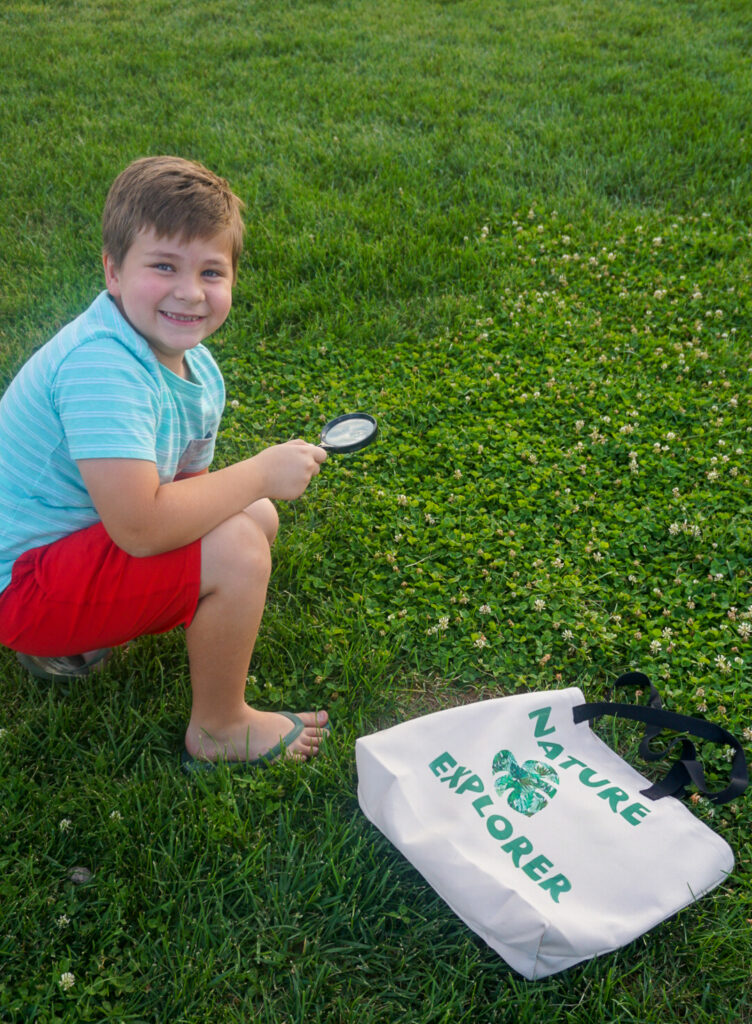
Zac has gotten really into collecting nature items, like pinecones, rocks, and more, so we’ve been learning about each of those things as he collects them. He also really likes checking out a painted rock swap area at our favorite park- sometimes, he even brings his own painted rocks to swap! Usually, by the end of our park excursion my purse is filled with rocks, dirt, and who knows what else- so I decided it was time for Zac to have his own special bag for his collecting!
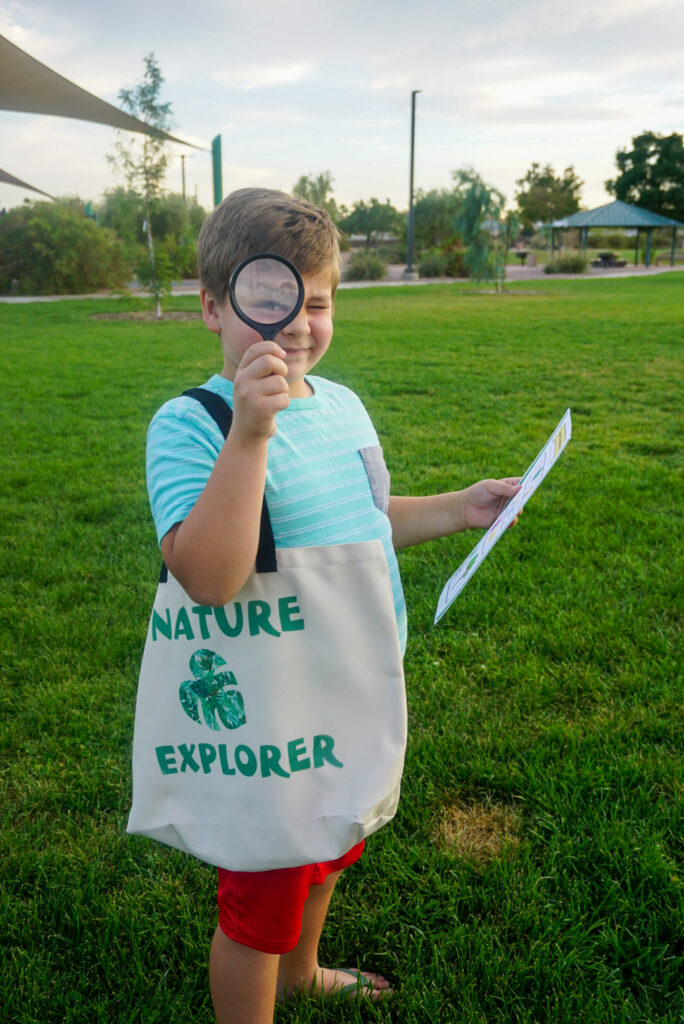
This DIY Nature Explorer Bag is so easy to make using a Cricut Explore Air 2 and Cricut EasyPress 2 and is perfect for bringing with you on any outdoor education outing. Using just a few supplies and the super simple Cricut Design Space software, I made him this bag in under 20 minutes! Read on to see just how easy it is.
How to Make a DIY Nature Scavenger Hunt Bag
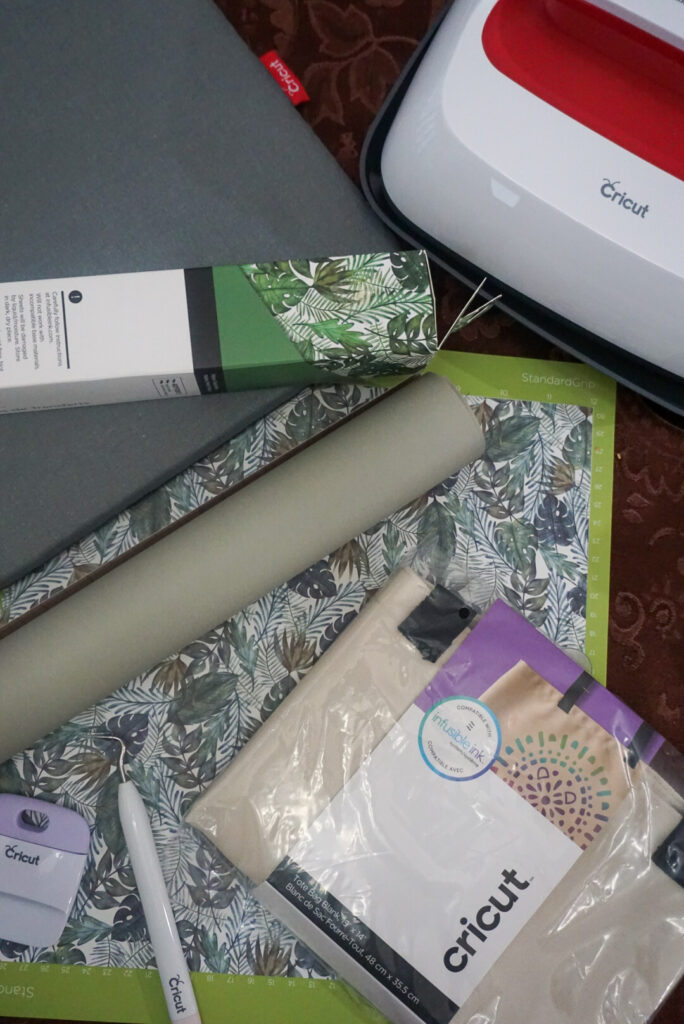
Supplies You’ll Need:
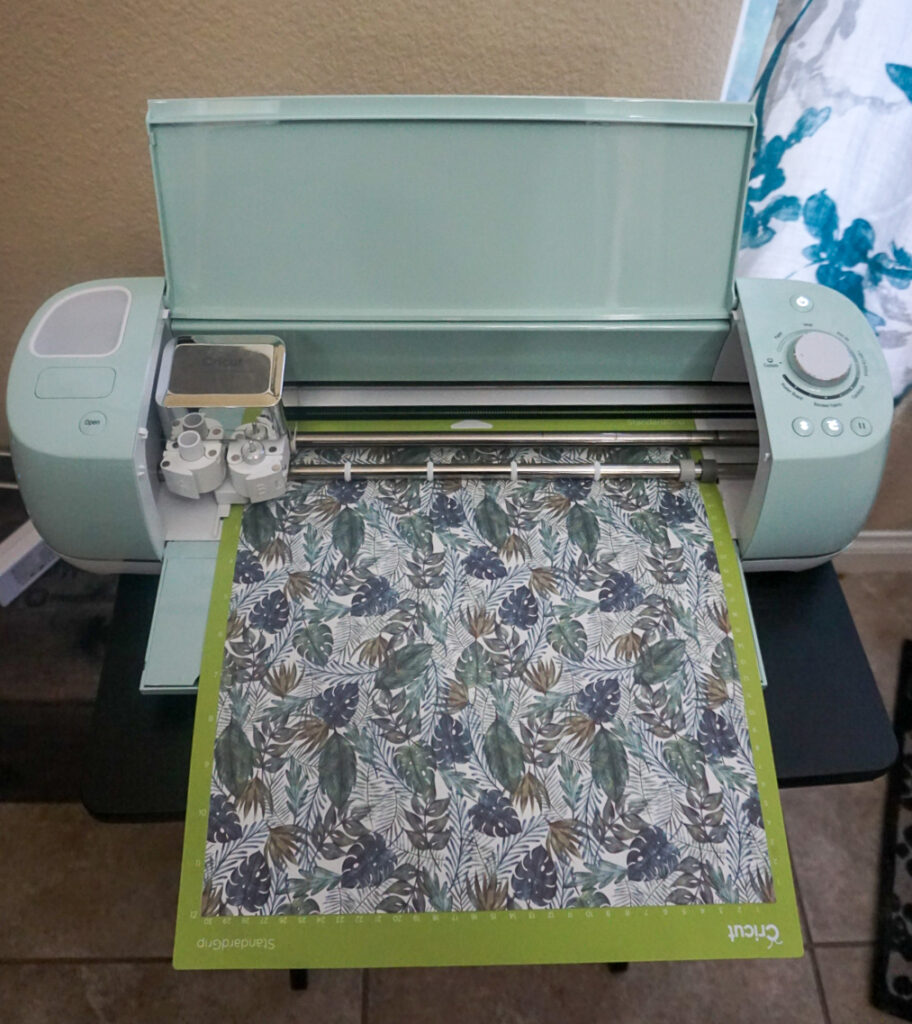
Cricut Machine {I used my Cricut Explore Air 2}
Cricut Infusible Ink Transfer Sheets {I used Tropical Palm, but you can use whatever color or pattern you like!}
Cricut Standard Grip Mat, 12×12
Cricut Weeding Tool
Cricut EasyPress 2
Cricut EasyPress Mat, 12×12
Cricut Infusible Ink Compatible Tote Bag {Large}
How to Make It:
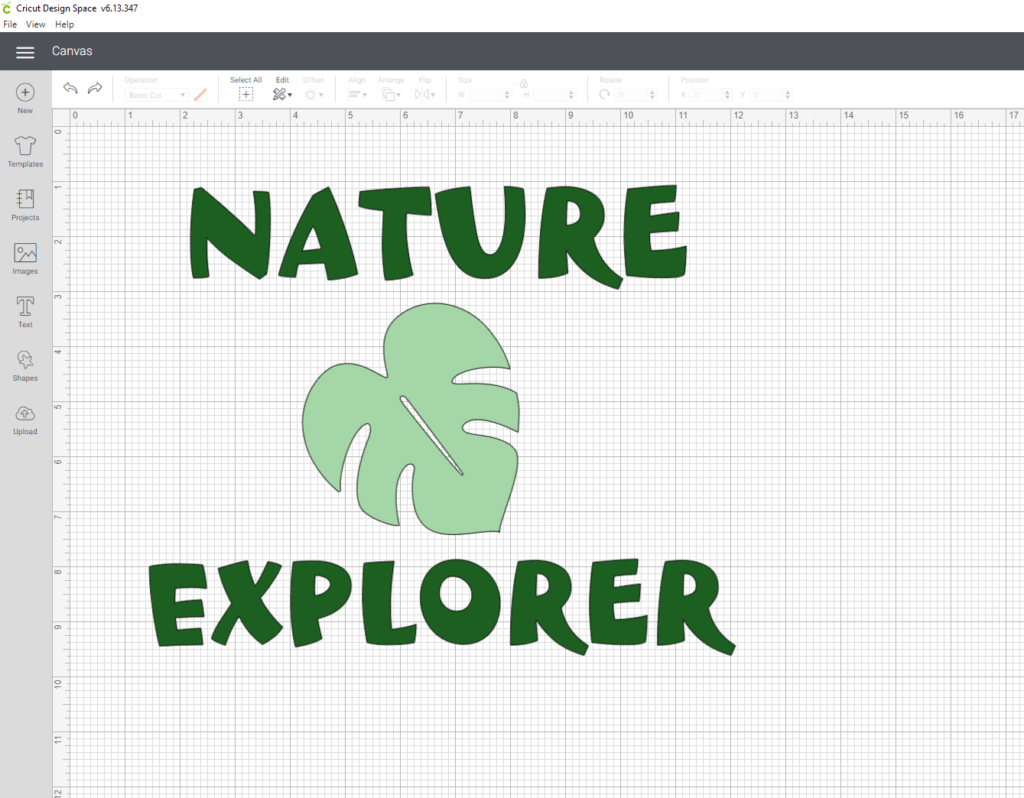
1. Either download my Nature Explorer Design right here or use Cricut Design Space to make your own. If you sign up for Cricut Access Premium you’ll have access to hundreds of fonts and thousands of images to choose from!
2. Once you’re satisfied with your image, follow the on-screen directions to cut your image out using your Cricut machine. Make sure to load your infusible ink pages ink-side up, and make sure to mirror your images- this is SUPER important!
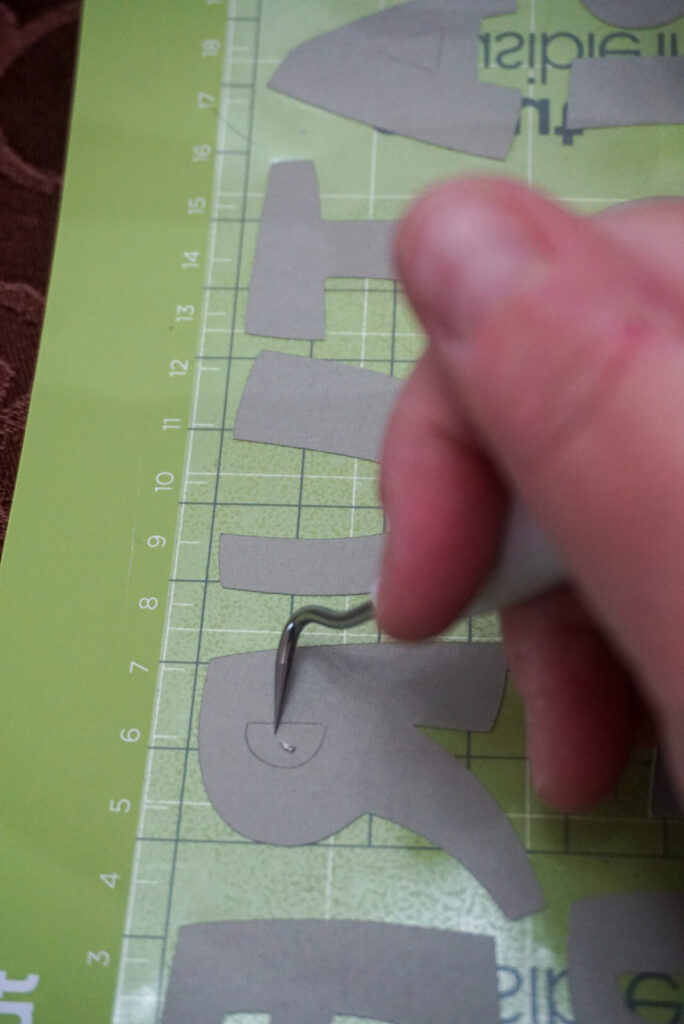
3. Once your design is completed, weed out the excess using the Cricut Weeding Tool.
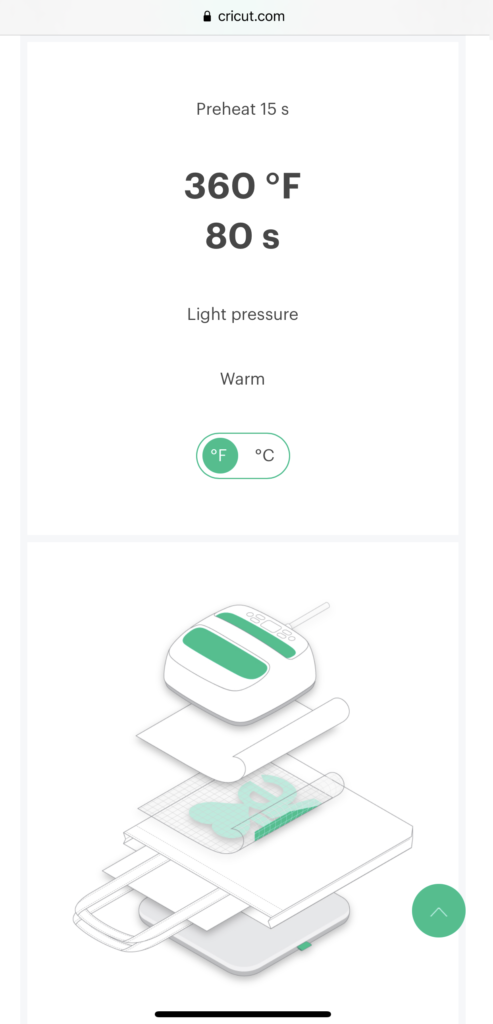
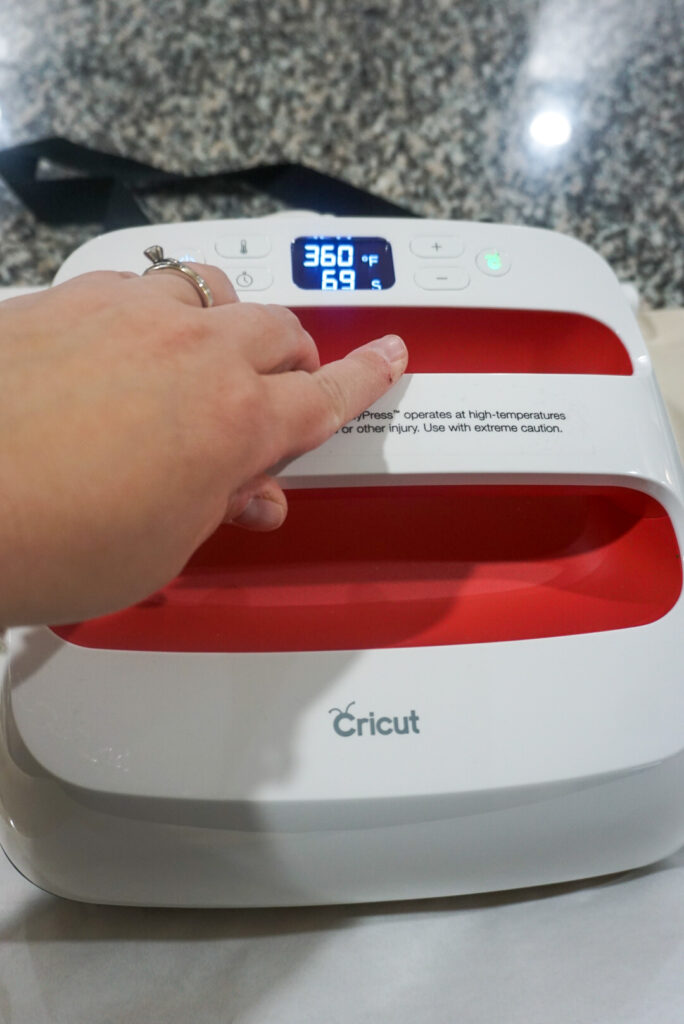
4. Plug in your EasyPress Mat and set it to the required temperature and time settings. If making your bag just like I did with a Cricut tote bag and Cricut Infusible Ink, you’ll want it at 360 degrees and 80 seconds. {Using something else? Check what settings you’ll need here.}
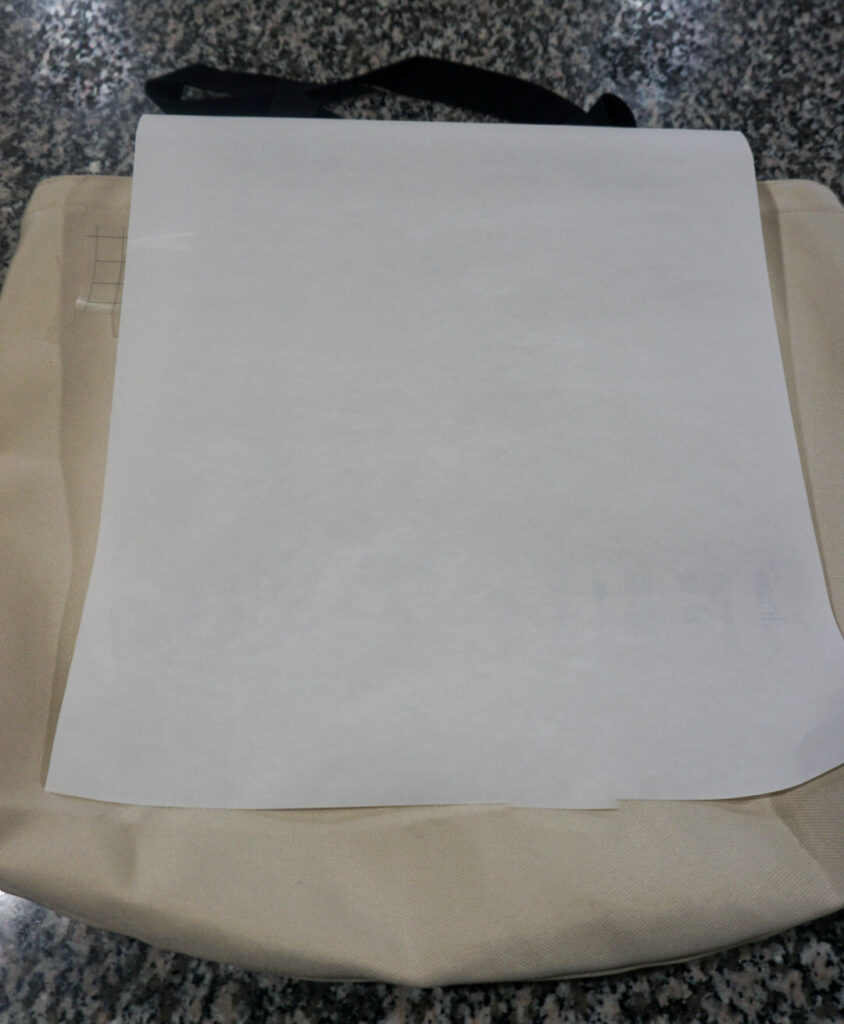
5. While your machine heats up, lint roll your tote bag to prepare it for transfer. Then, get out a piece of butcher paper that came with the ink transfer sheets and place it over the tote bag. Also place an index card inside the bag under where the design will go to prevent bleed through.
6. Preheat the tote bag with the EasyPress for 15 seconds, then remove the butcher paper from the tote bag. Remember to ALWAYS rest your EasyPress in it’s base as that machine gets very hot!
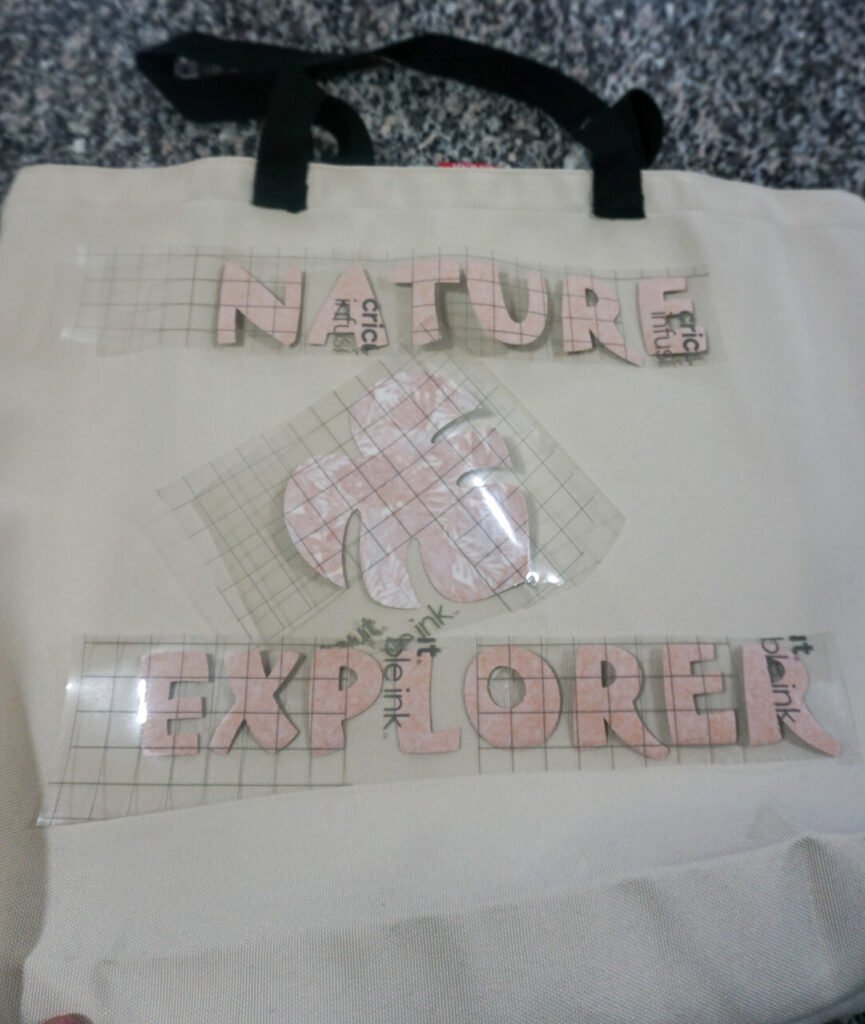
7. Place your design where you want it, with the liner side up. Once you have it exactly how you want it, cover it with butcher paper and apply the machine. Hit the Cricut button to start the countdown, and apply light pressure during the 80 seconds.

8. When the time is up, slowly lift the press up and put it on the base, remove the butcher paper, and remove the liner while still warm. Ta-da!
How do you care for Cricut Infusible Ink designed products?
Every product is different, but for the tote bag, machine wash inside out with cold water and mild detergent, then tumble dry low or {recommended} line dry. Make sure not to use fabric softener, dryer sheets, or bleach as this can damage it.
What’s the difference between Cricut Infusible Ink and Cricut Iron-On Vinyl?
Infusible Ink literally infuses with the product when heat is applied, so the design becomes a part of the item- in this case, a tote bag. You can no longer feel anything, just the tote bag, unlike vinyl which adds texture to the bag. They’re both awesome products though!
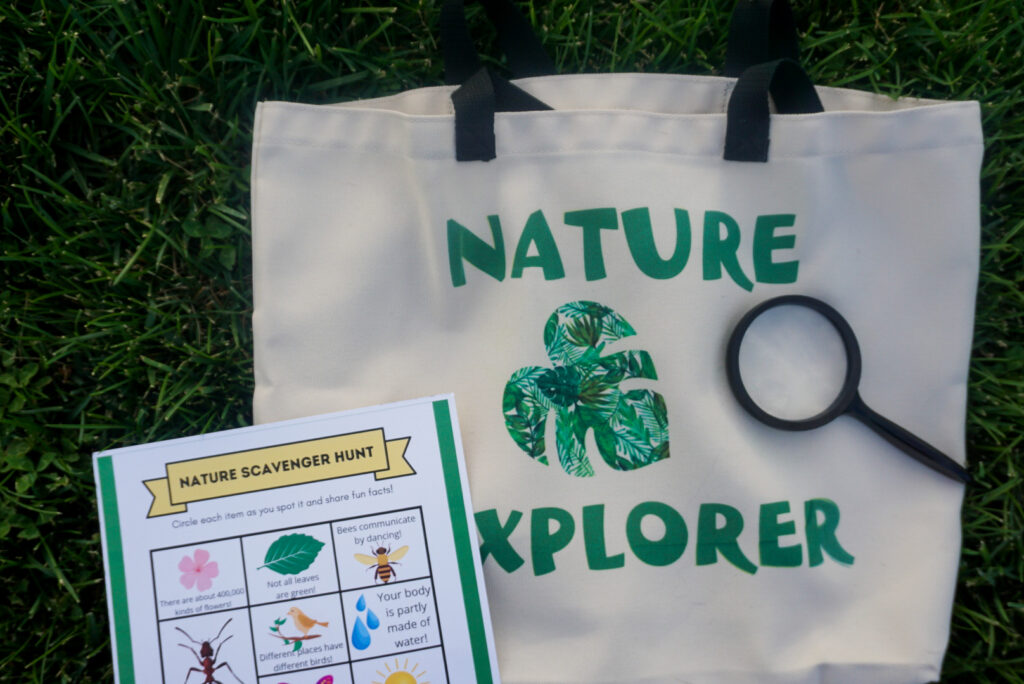
Free Printable Nature Scavenger Hunt
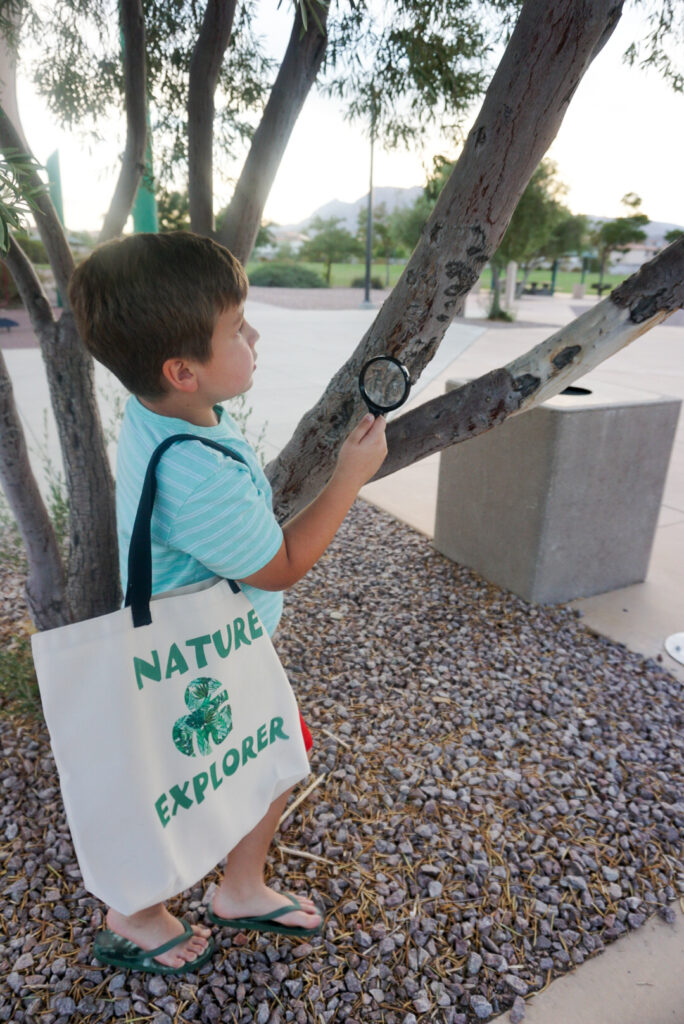
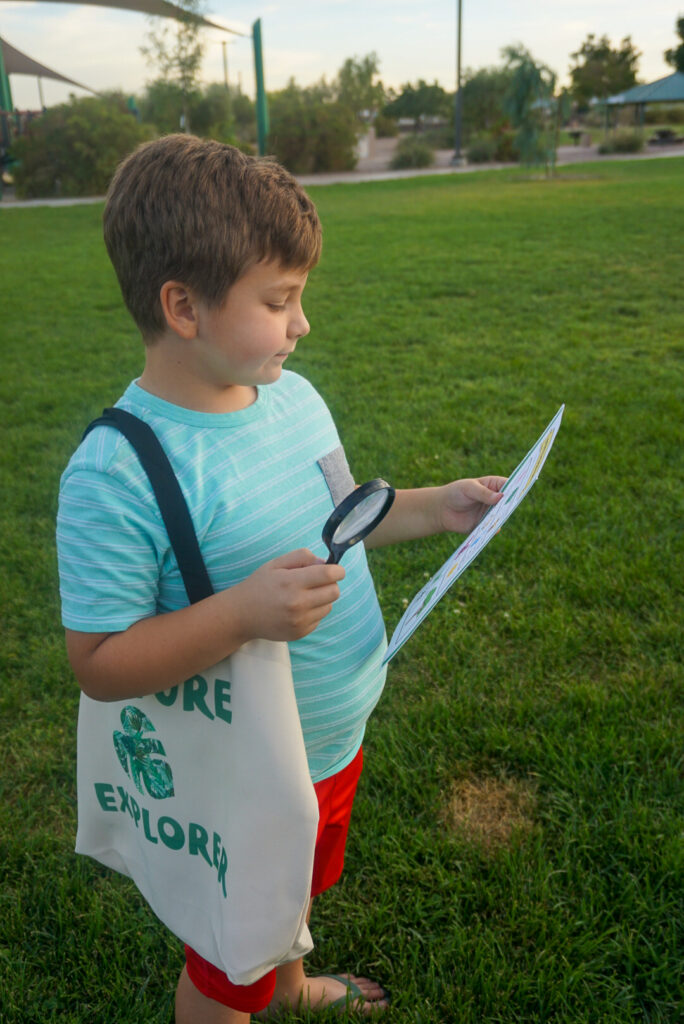
Zac loves playing games, so I made him a fun nature scavenger hunt to use when we went to the park! This one encouraged mostly looking, not collecting, but of course he found lots of little goodies while checking off the list. And the list has some fun facts for kids to learn more about the nature all around them! You can download the free printable right here.
Do your little ones have any collections?

Leave a Reply