This post is brought to you by Cricut. All opinions are my own.
Well, it finally happened- the kids went back to school! After 17 months at home, they started in-person school a few weeks ago.
It’s been a big adjustment for everyone. The kids aren’t used to being away for hours at a time {and Shane’s at a new school since he started middle school last year} and I’m not used to all the quiet. I miss those kiddos when they’re away- and I know they miss me {or at least, their video games!} too.
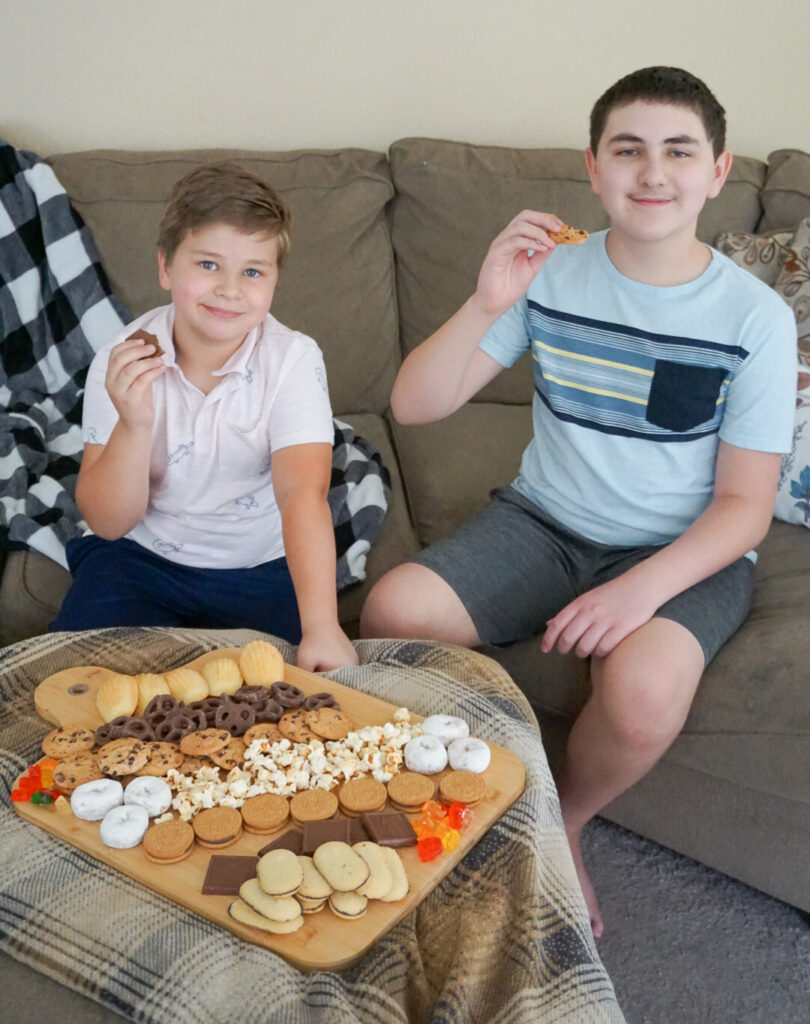
To make the adjustment just a little easier, I’ve been doing some fun things after school so that they have something to look forward to all day. One of those things- one of my personal favorites- has been creating EPIC snack times!

I’d always wanted to make a dessert charcuterie board, but since we haven’t exactly been hosting parties lately I hadn’t had a chance. I saw that opportunity after school the other day and ran with it! {That said, since it was just us, it lasted for days!}
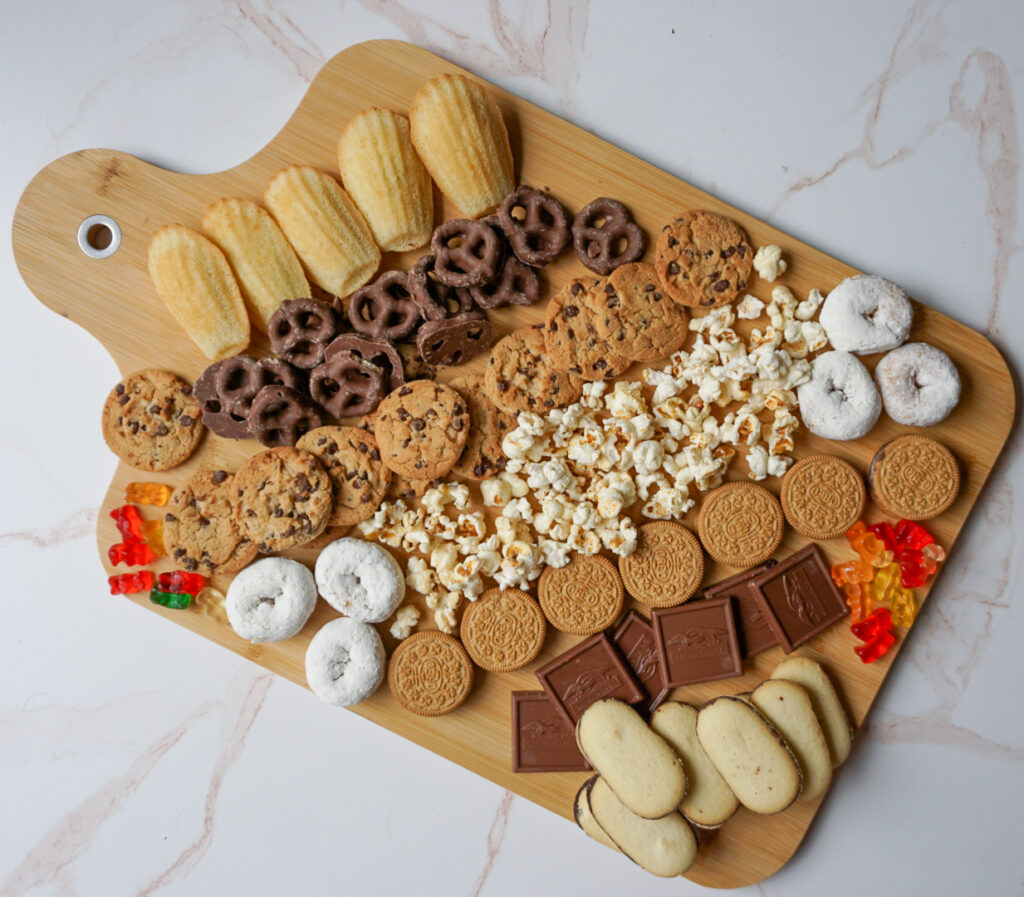
Making a dessert charcuterie board is easy once you know what you’re doing. Below are some shortcuts I learned when making mine that I hope can inspire you when creating your own!

What to include in a dessert charcuterie board
When I was buying dessert items for my board, I thought about what everyone would like. I also tried to get a few things purely because they would look pretty- you do eat with your eyes first, after all! I bought gummy bears for a pop of color and some fancy cookies that the kids had never tried because they made the board a little classier. But besides that, I went with some of our tried-and-true favorites, like chocolate covered pretzels, sandwich cookies, and more.
How to make planning a dessert charcuterie board even easier
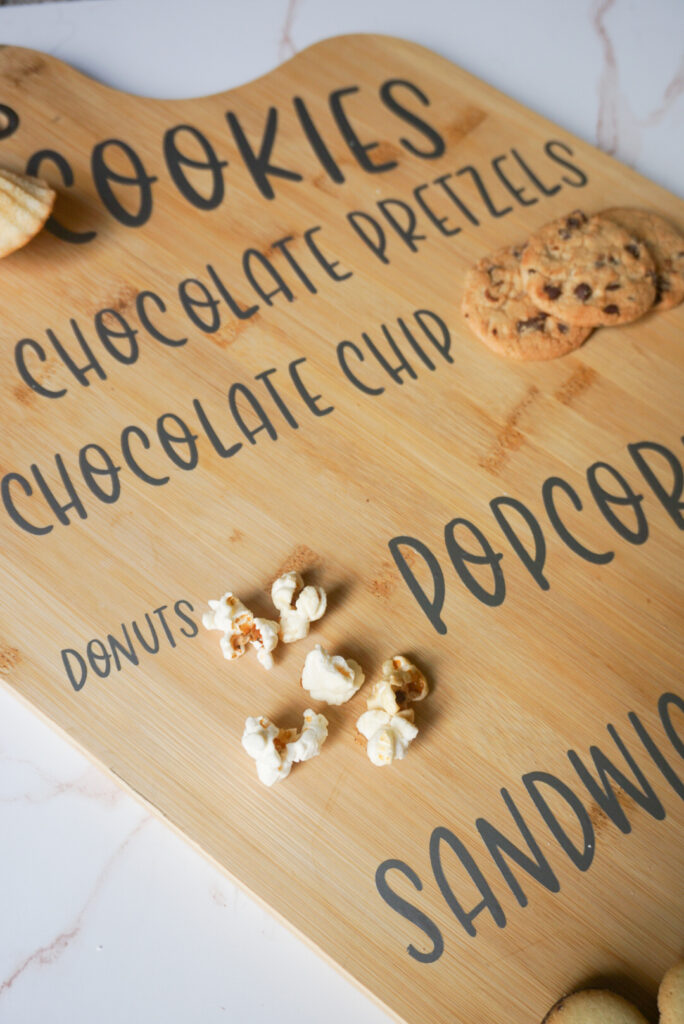
Once I had all of my treats, I played around with the combination until I had a board I was happy with. I got the layout just the way I wanted it, and stacked it with lots of delicious treats. And now I’ll never have to waste time doing that again because I made my own dessert-by-numbers board!
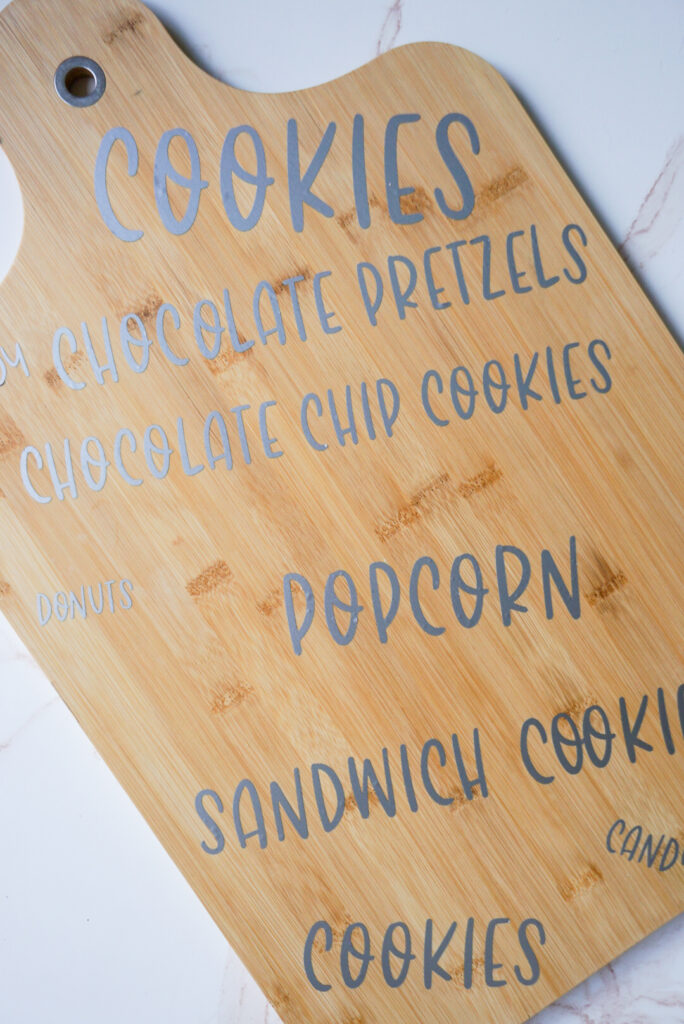
After enjoying our dessert charcuterie board the first time, I noted what I had included and where I had put it. Then I used my trusty Cricut Explore Air 2 to print beautiful labels for each spot. I applied those directly to the board so that now every time I want to make a dessert charcuterie board, I can just use the board as a shopping list and I’ll know right where to put everything!
How to customize your dessert charcuterie board
While I did include some favorite items that we’d be happy to eat over and over again, I wanted some room to switch it up with new foods, too. That’s why you’ll find some vague terms like “sandwich cookies”. This time, I went with Peanut Butter Pie flavored, but next time I might get Pumpkin Spice!
Instead of gummy bears in the “candy” spot, I might get fruit flavored candies or another family favorite. And “popcorn” can be anything from Kettle Corn, like this time, to traditional, cheddar, or caramel! Just because you have a guideline, doesn’t mean you can’t switch it up!
How to Use a Cricut machine to make a Dessert Charcuterie Board
1. Figure out what treats you want on your board and make labels for them in Cricut Design Space. You can use my template if you want- download it here! I used one of the hundreds of fonts available through Cricut Access Premium, but you can customize it with whatever font you like or different snack options.
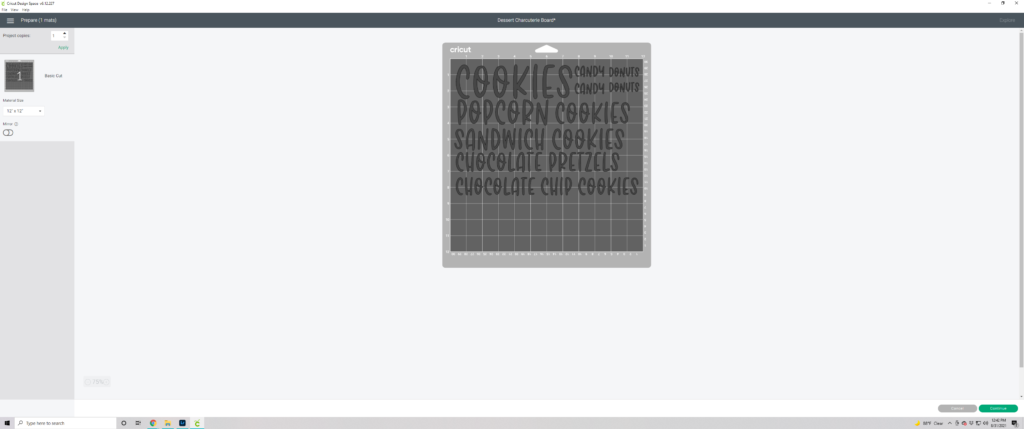
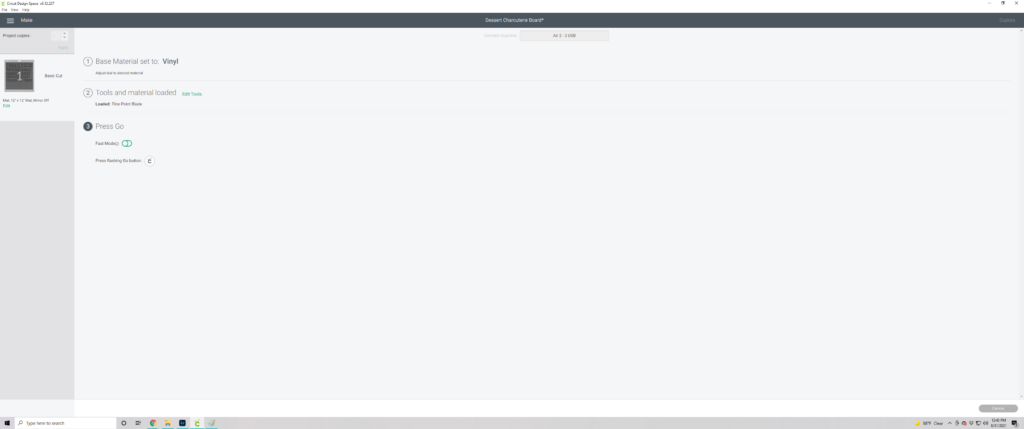
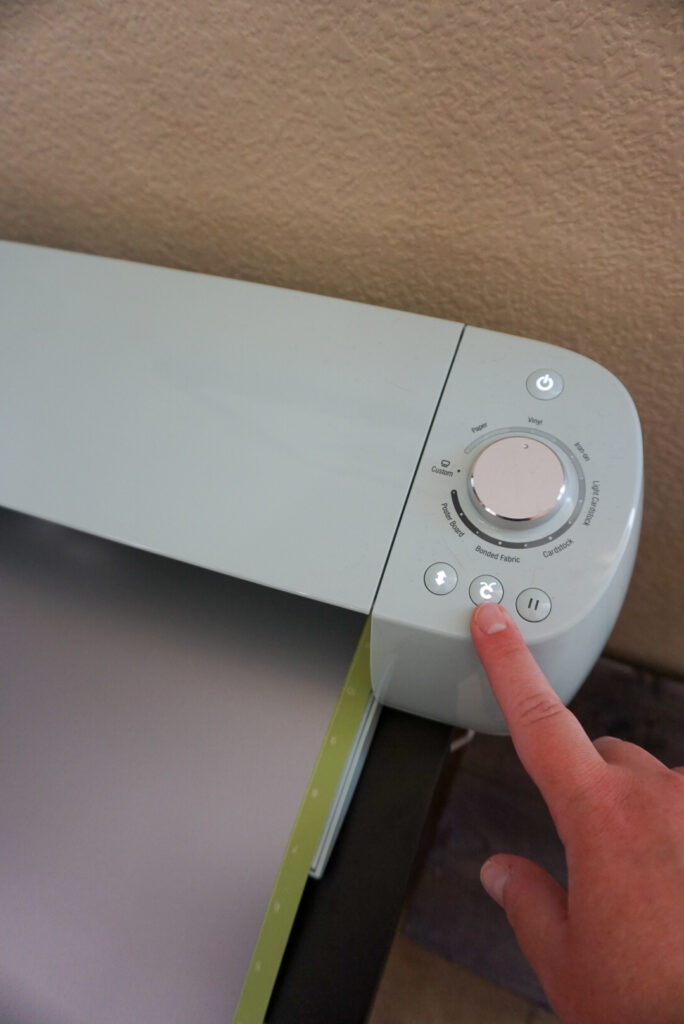
2. Cut out labels using your Cricut machine. Load up a Standard Grip Mat with the Cricut Premium Vinyl of your choice. I used my Cricut Explore Air 2– make sure your dial is set to vinyl!
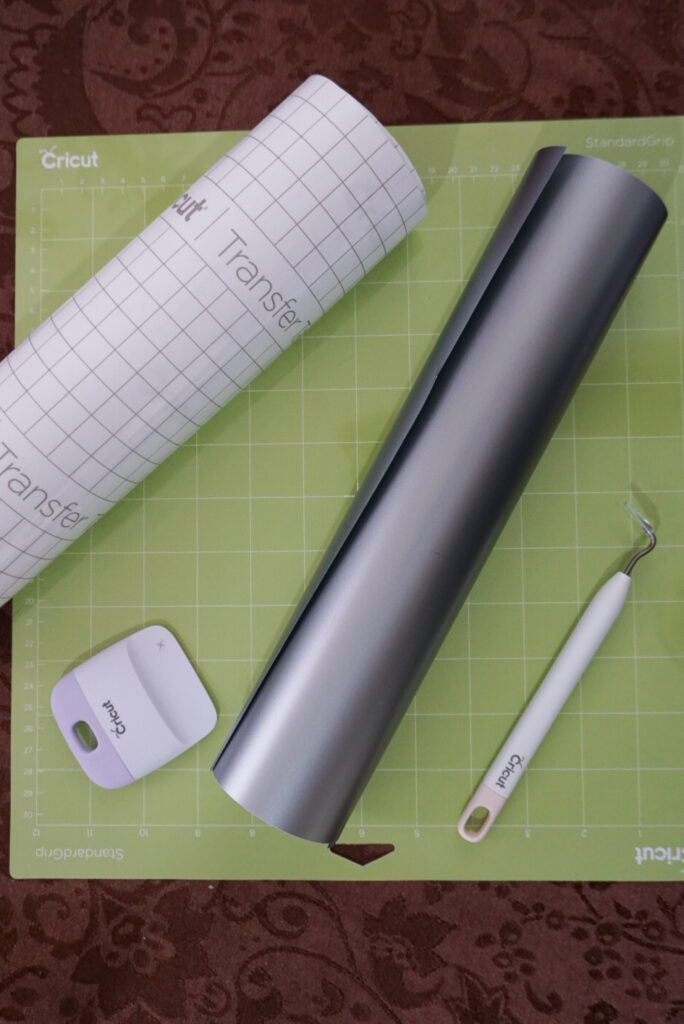
3. Prep your labels. Remove excess vinyl and weed using a Cricut weeding tool. Be sure to go slow and take your time so you don’t pull up any of the letters!
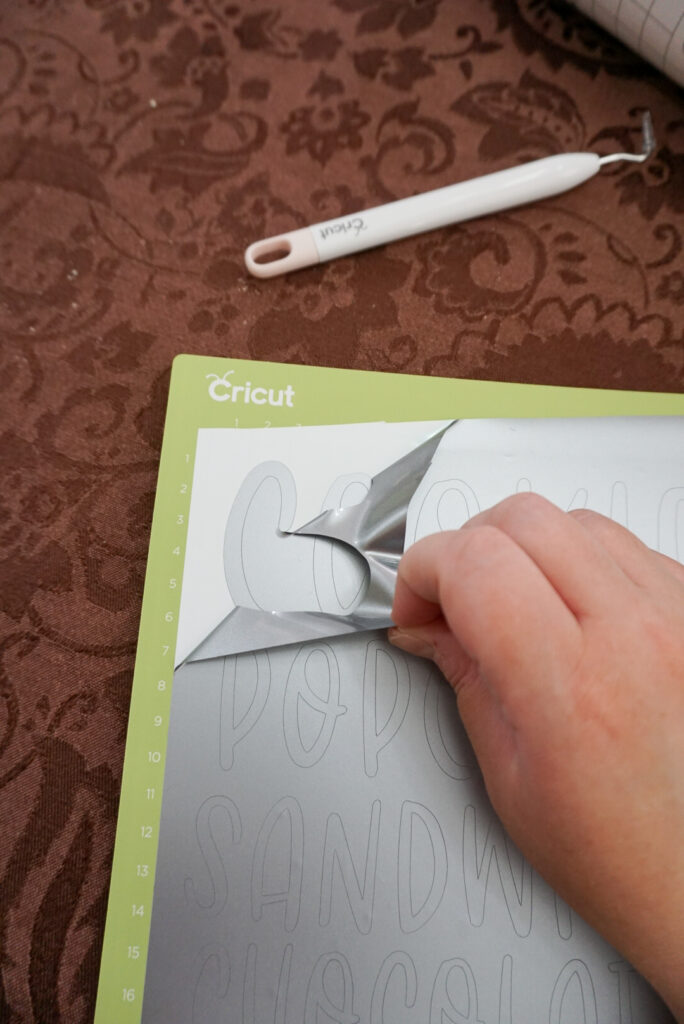
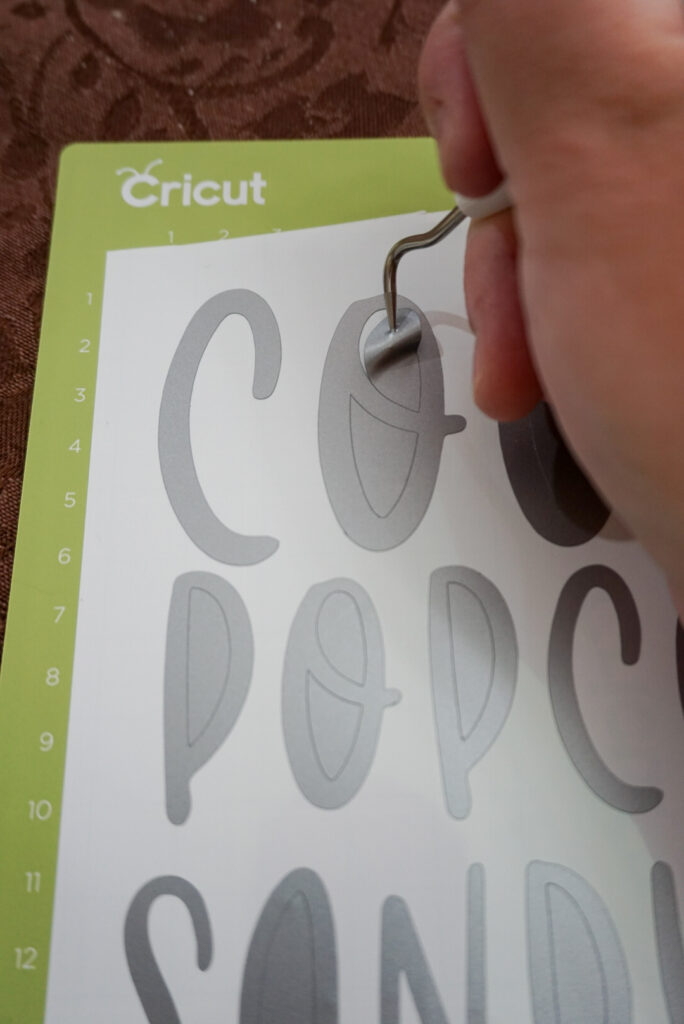
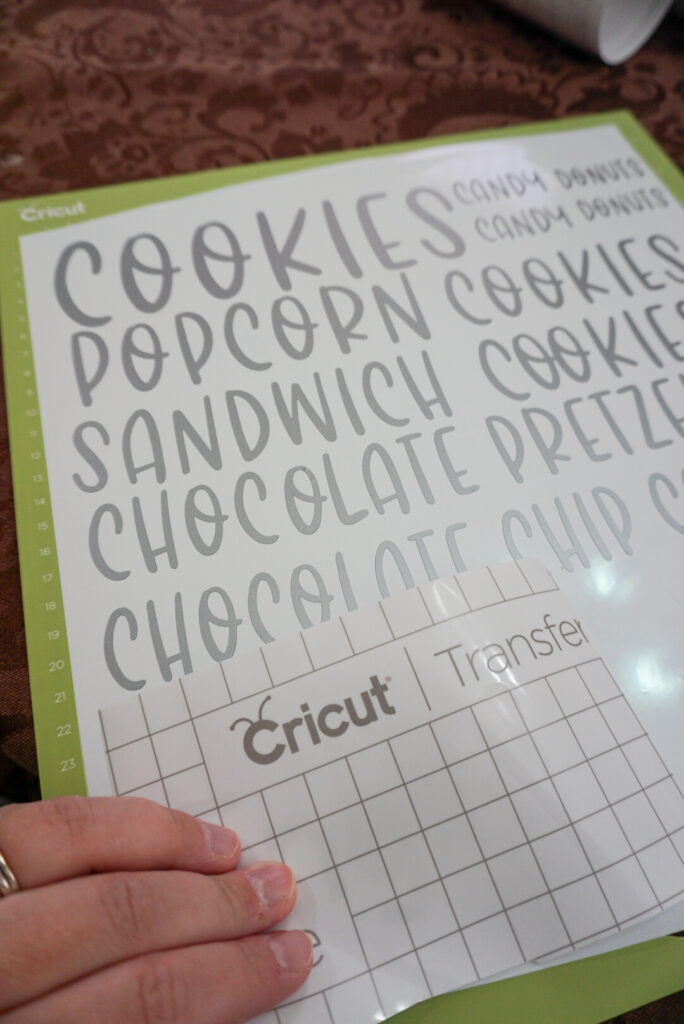
4. Stick your labels onto the charcuterie board. Use Cricut Transfer Tape to lift the labels off the mat using the Cricut Scraper to help stick the labels to the transfer tape. Place the labels down on your charcuterie board where you want them and use the Cricut Scraper to adhere where necessary.

Oh and bonus? The board is blank on the back- so next I’m going to label it for a savory charcuterie board!
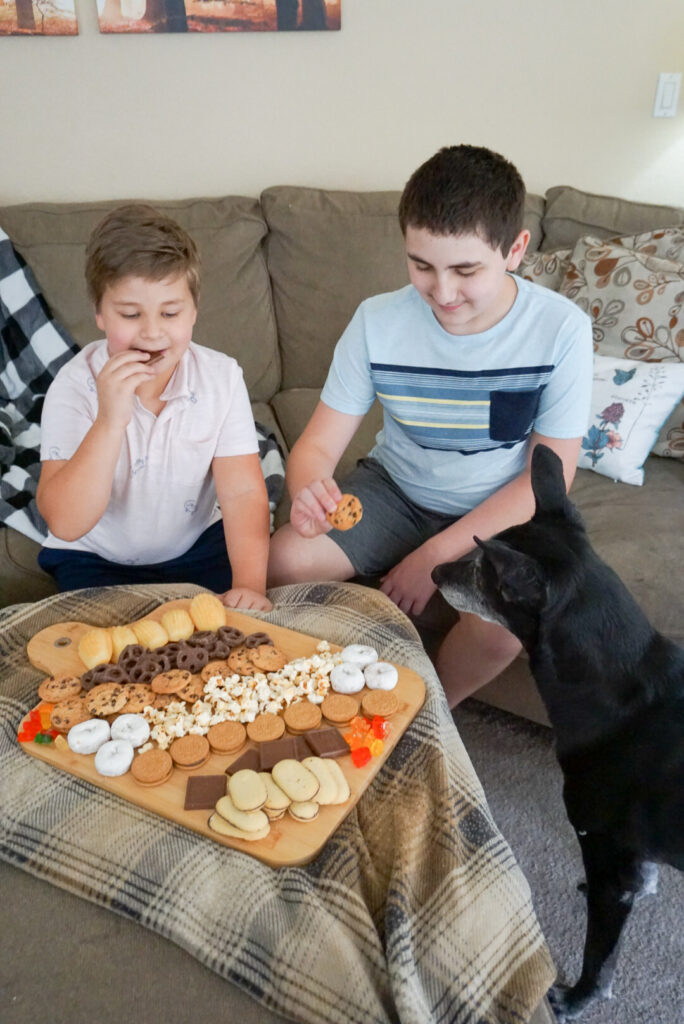
Have you ever made a dessert charcuterie board? What’s your must-have treat on it?

Leave a Reply